Jira Workflows
|
|
|


Integrating Jira and Dropthought allows you to connect your Dropthought account with your Jira account, facilitating data exchange between the two platforms.
This article will help you to understand:
What are the various available workflows?
When do you use these workflows?
How do you enable and disable Jira workflows?
Workflows
Note: This integration can create an issue on Jira.
Create an Issue on Jira upon satisfying a trigger condition:
This workflow will help you create a ticket on Jira of type “issue” whenever a trigger condition is met on Dropthought.
Enable Workflows
Follow the below steps to enable Jira workflows:
Note: Make sure your Jira account is linked with your Dropthought account.
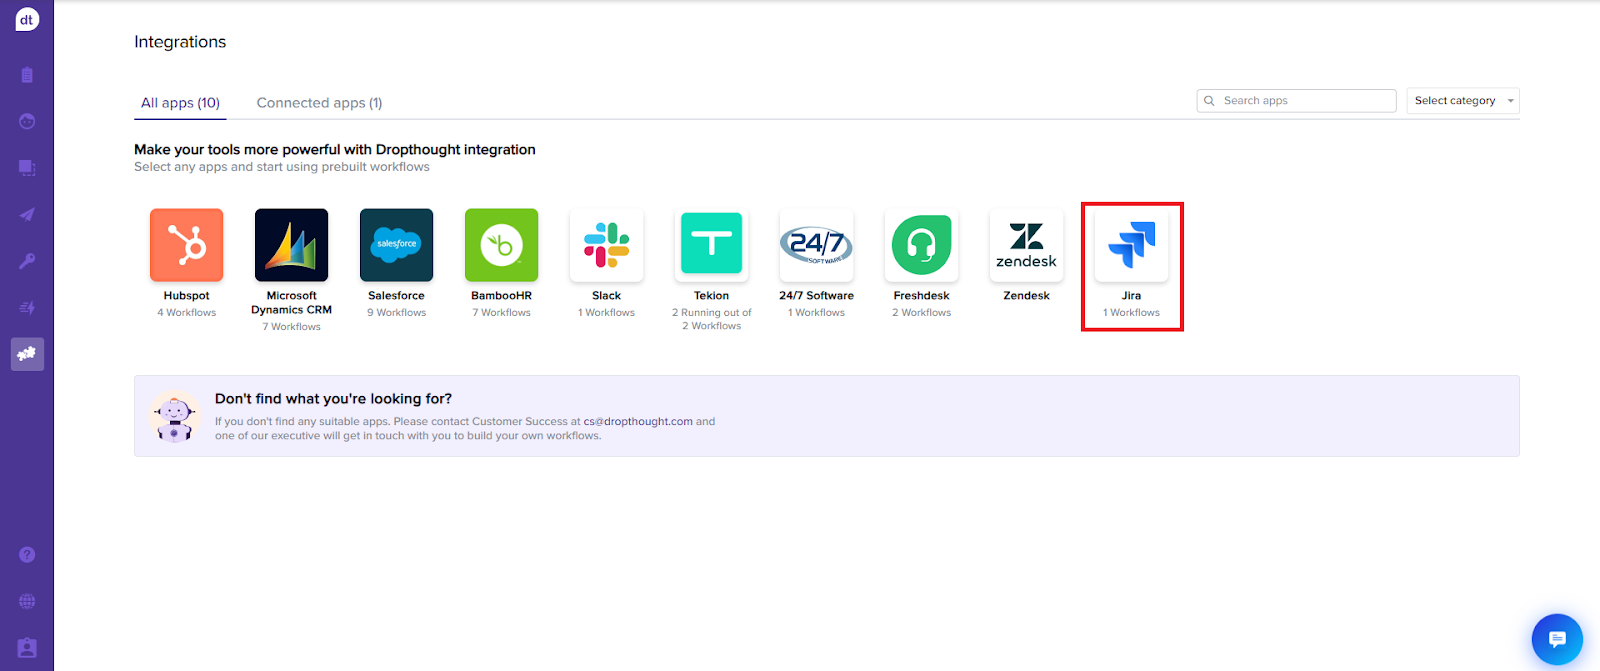
Navigate to the Jira integration page. Click on the Jira logo. You can view the number of available workflows below the app’s logo.
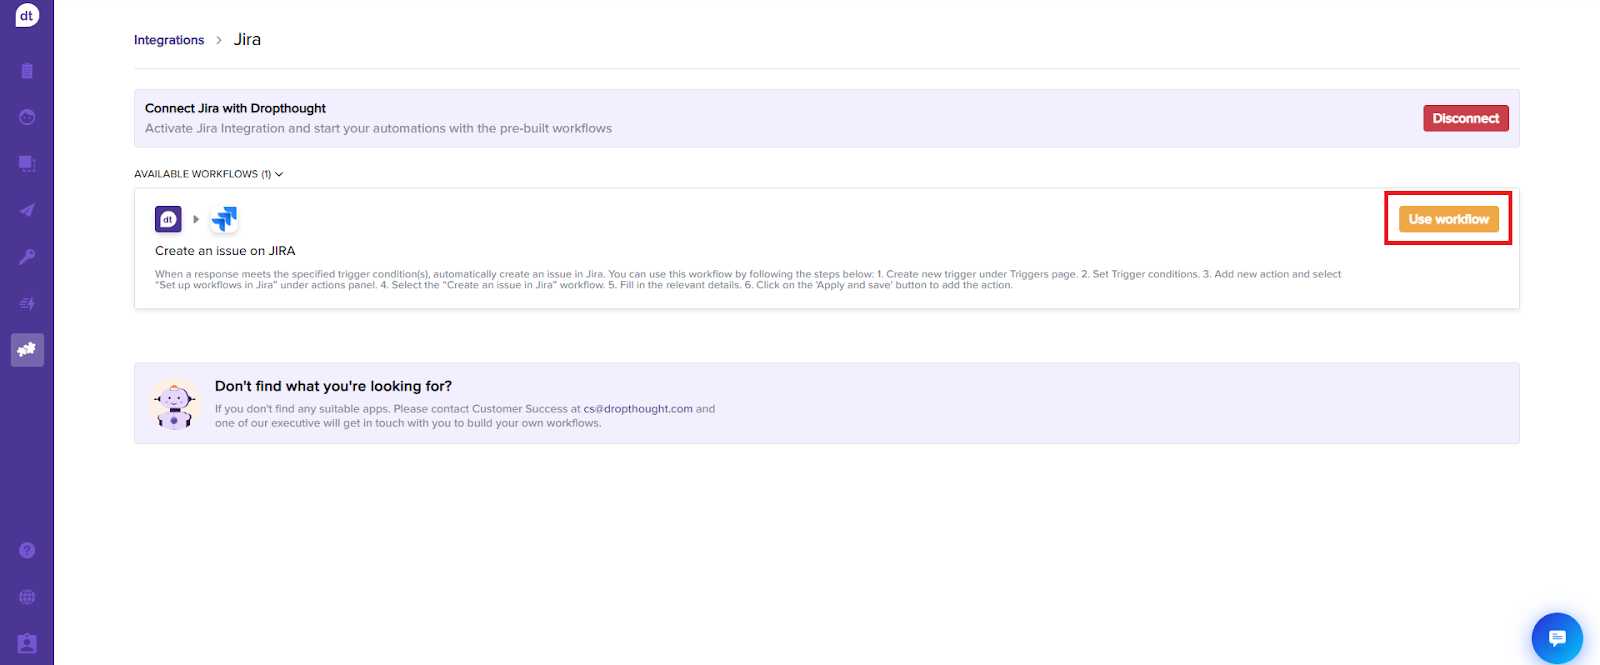
Click the Use Workflow button given against the required workflow from the following page.
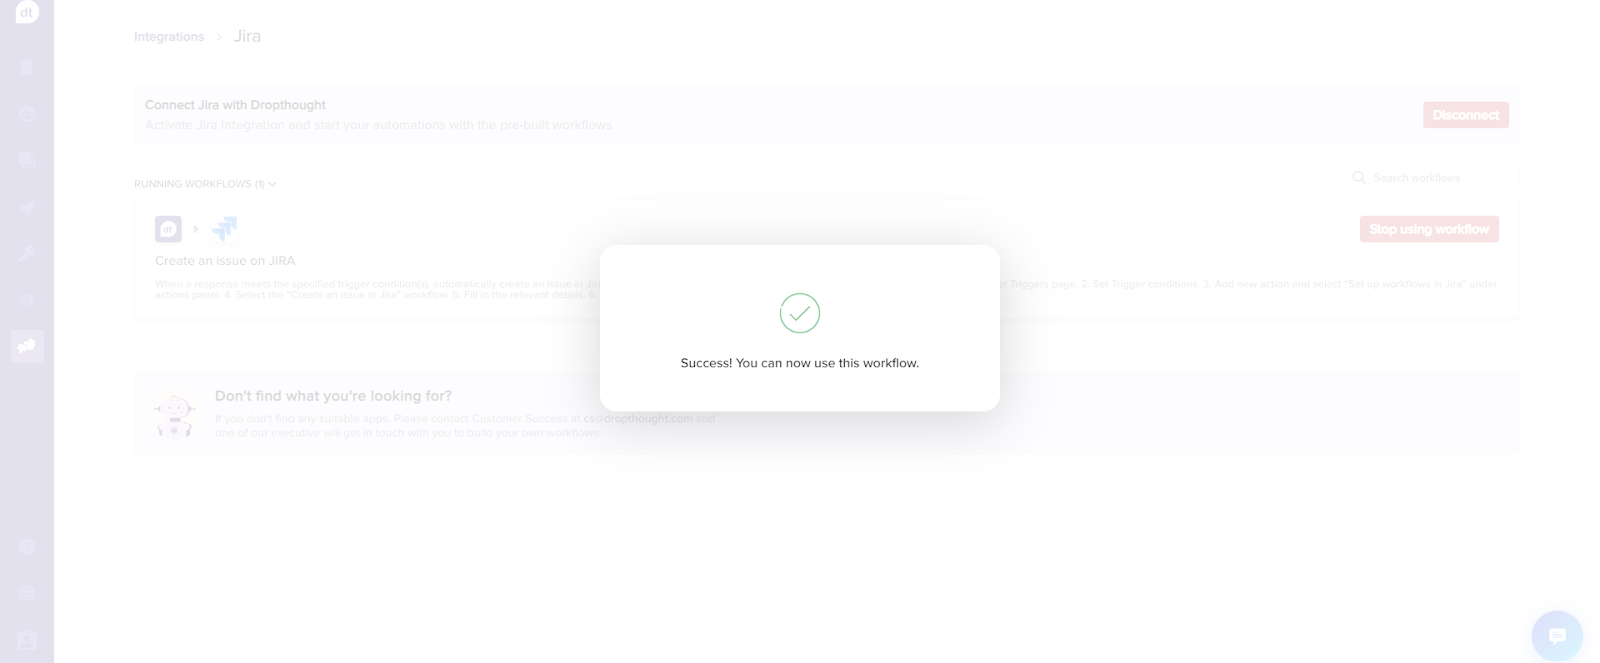
You will be prompted upon successfully activating the workflow.
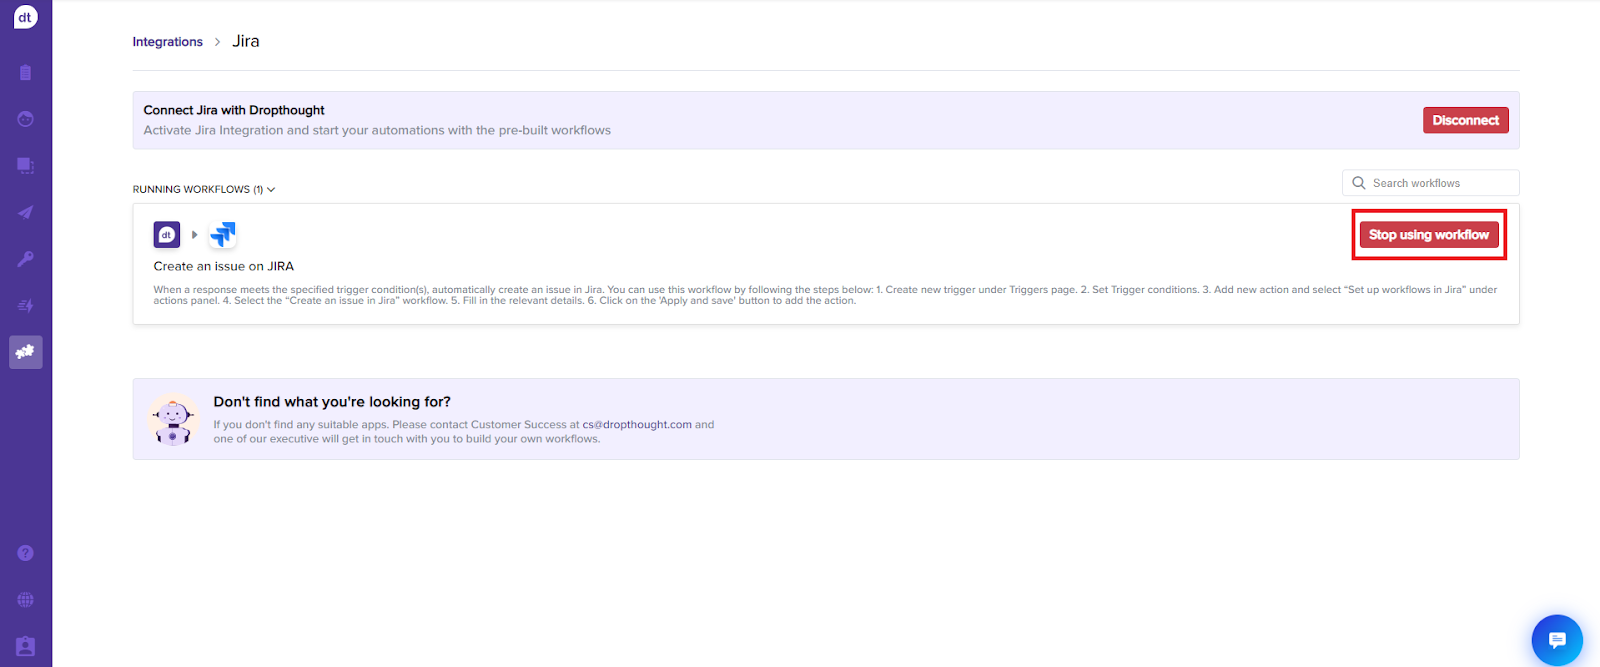
The Use workflow button changes to Stop using workflow.
Disable workflow
Follow the below steps to disable Jira workflows:
Navigate to the Jira integration page.
Click on Stop using workflow provided against the required workflow.
You will be prompted to confirm. Click on Yes, I’m sure to complete the process.
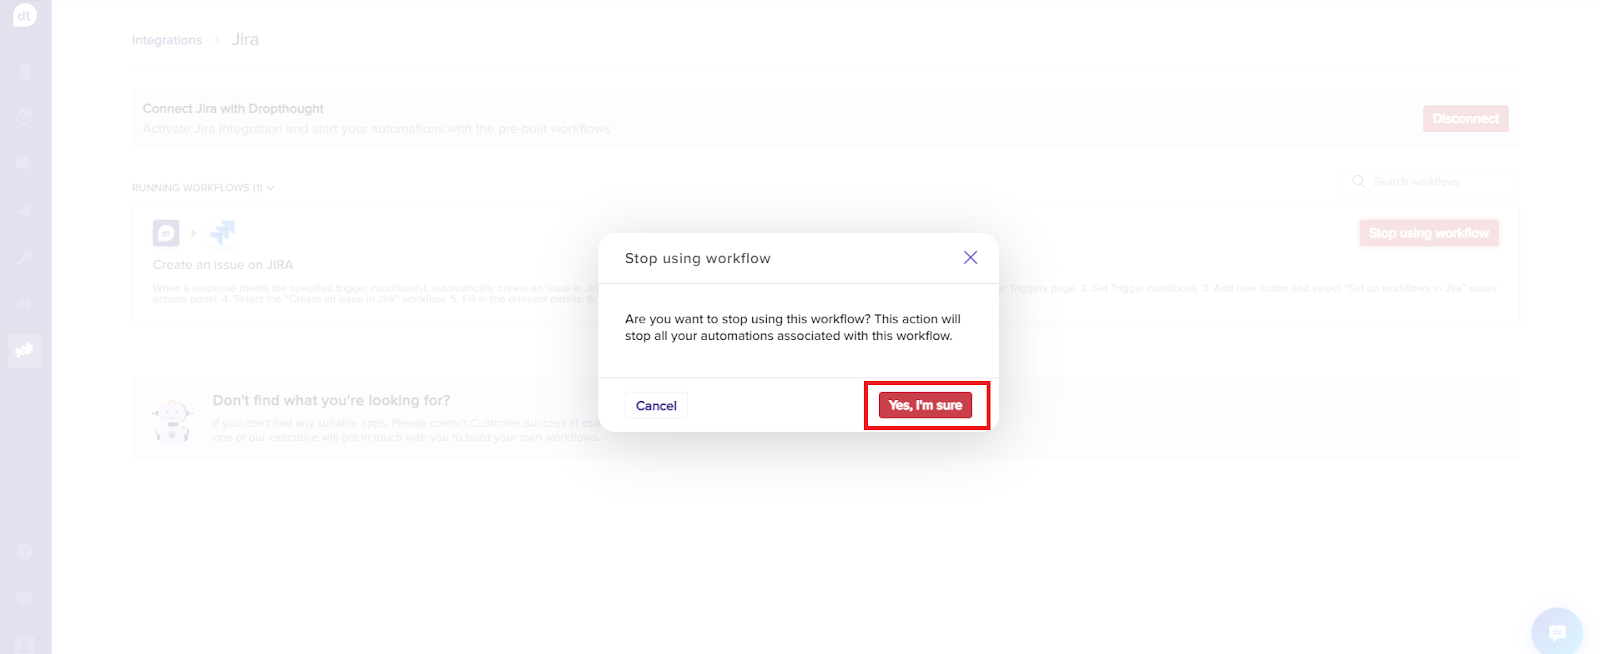
Note: You will be prompted when you disable the workflow.
The “Stop using workflow” button will be changed to “Use Workflow.”
The workflow will be unavailable to use while setting the triggers.
Learn more: Set up trigger using Jira workflow
.png?inst-v=03d3d293-bd62-4aaf-8fc5-0f74d934cc6a)