Using Action Plans
This article will help you understand:
How to use the Action Plans?
What are the notification and visibility settings available for Action Plans?
Action Plans in Dropthought get you AI powered suggestions for targets and action plan.
Getting Started
You can find the Action Plans for any program by:
Navigate to the Program’s Reports section.
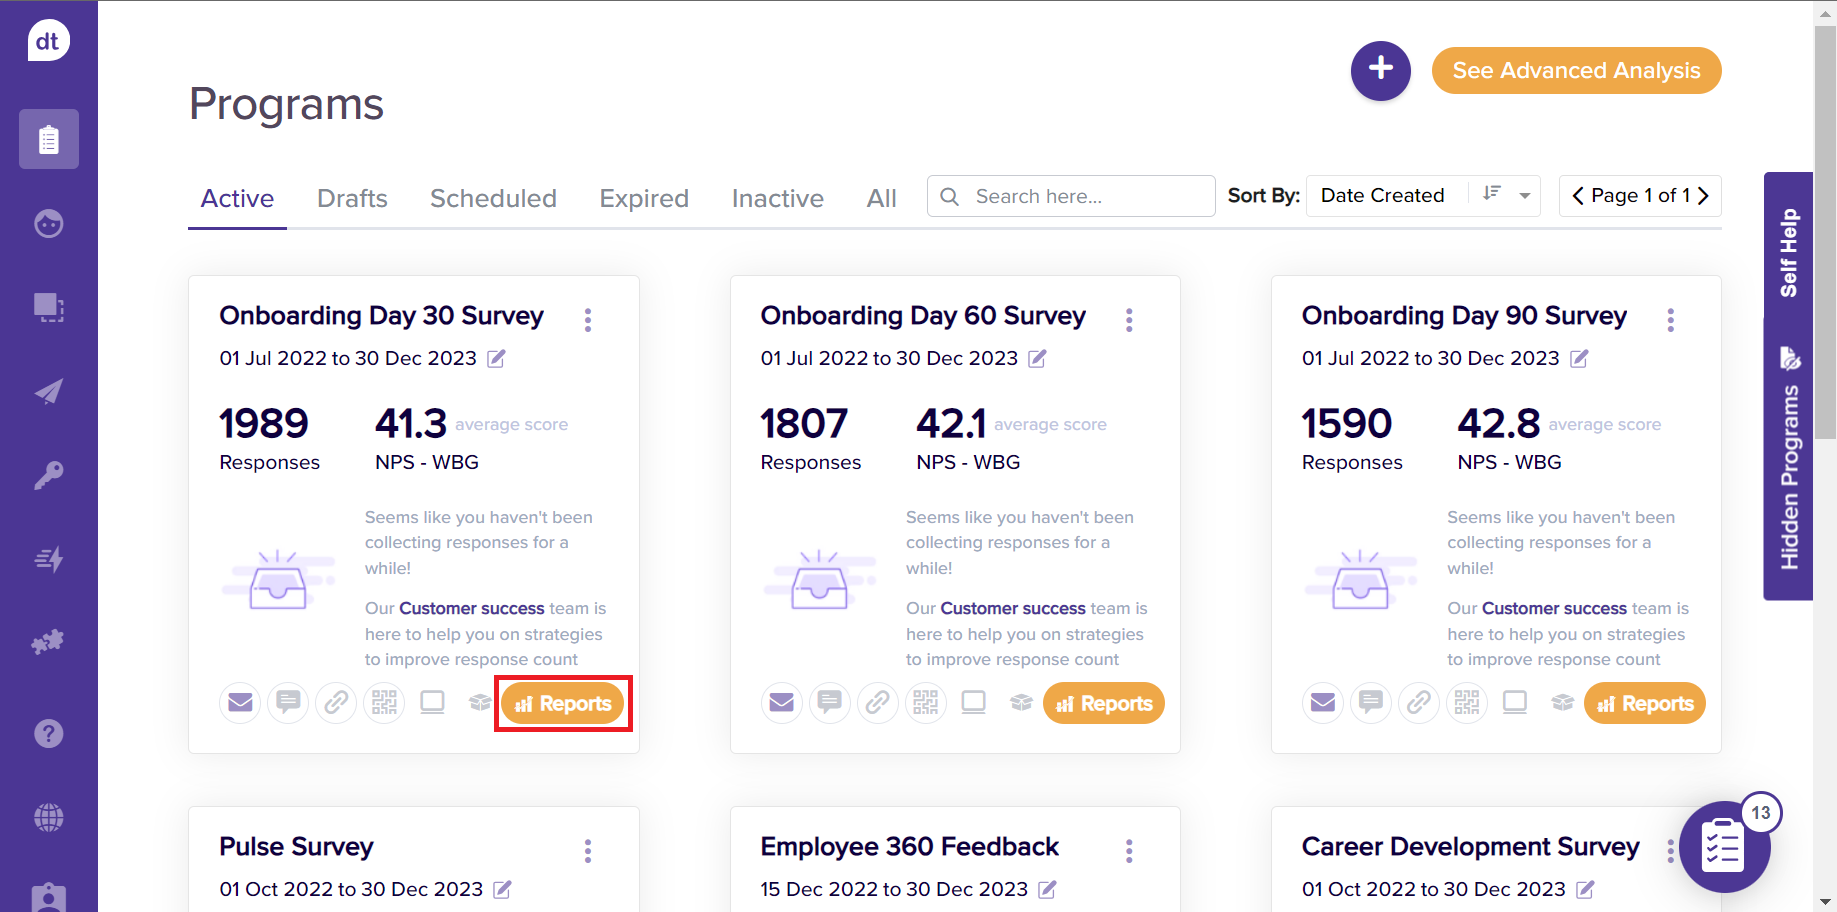
Locate the Action Plans Tab.
If your program contains at least one metric or text analytics category, then inside this tab, you will find “Target Areas.” We refer to them as Targets because these are the areas you can target to improve your performance.
These can be considered as a folder that contains “Action Plans” created for the respective target Area.
You will find the Recommended Targets and Other Targets for the program.
Any Action Plans you create (using the “Create Action” button as given in the next step) unassociated with any Metric or Category will be automatically collected inside a card or folder and will be marked as Target: Miscellaneous Targets.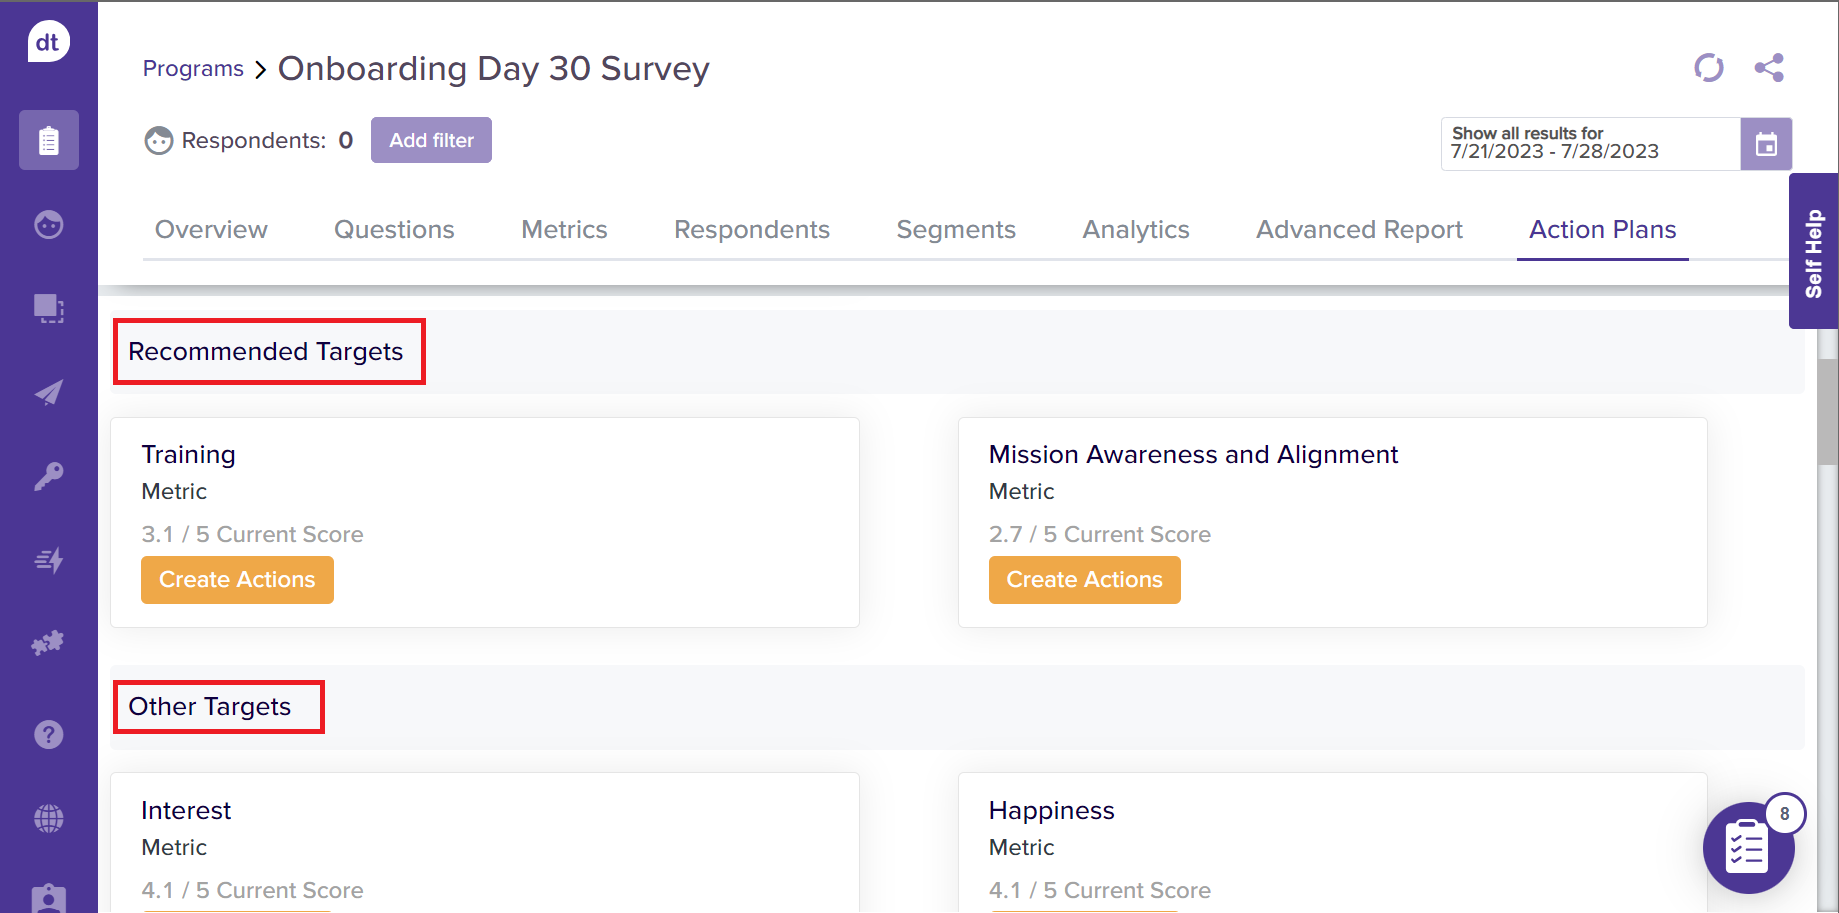
Create Actions
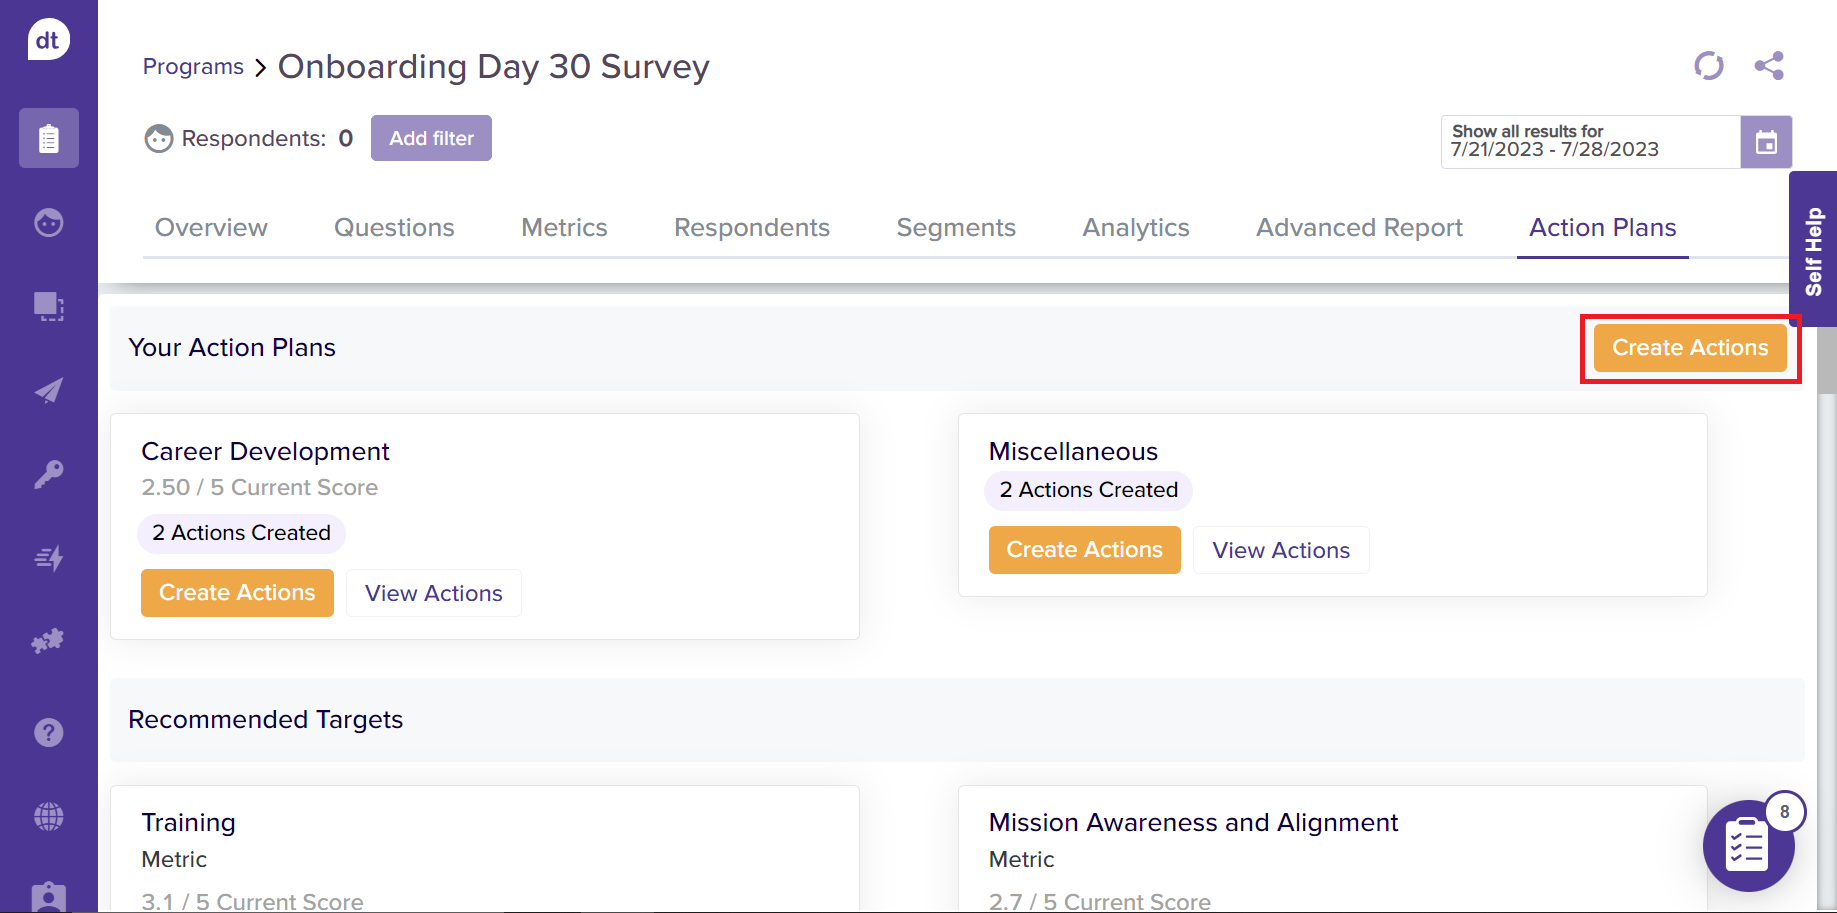
From the action plans tab, follow the below steps to get started with creating Action Plans:
Click on Create Actions to view and set up action plans for target areas.
Refer to the next section to learn more about creating your Action Plans.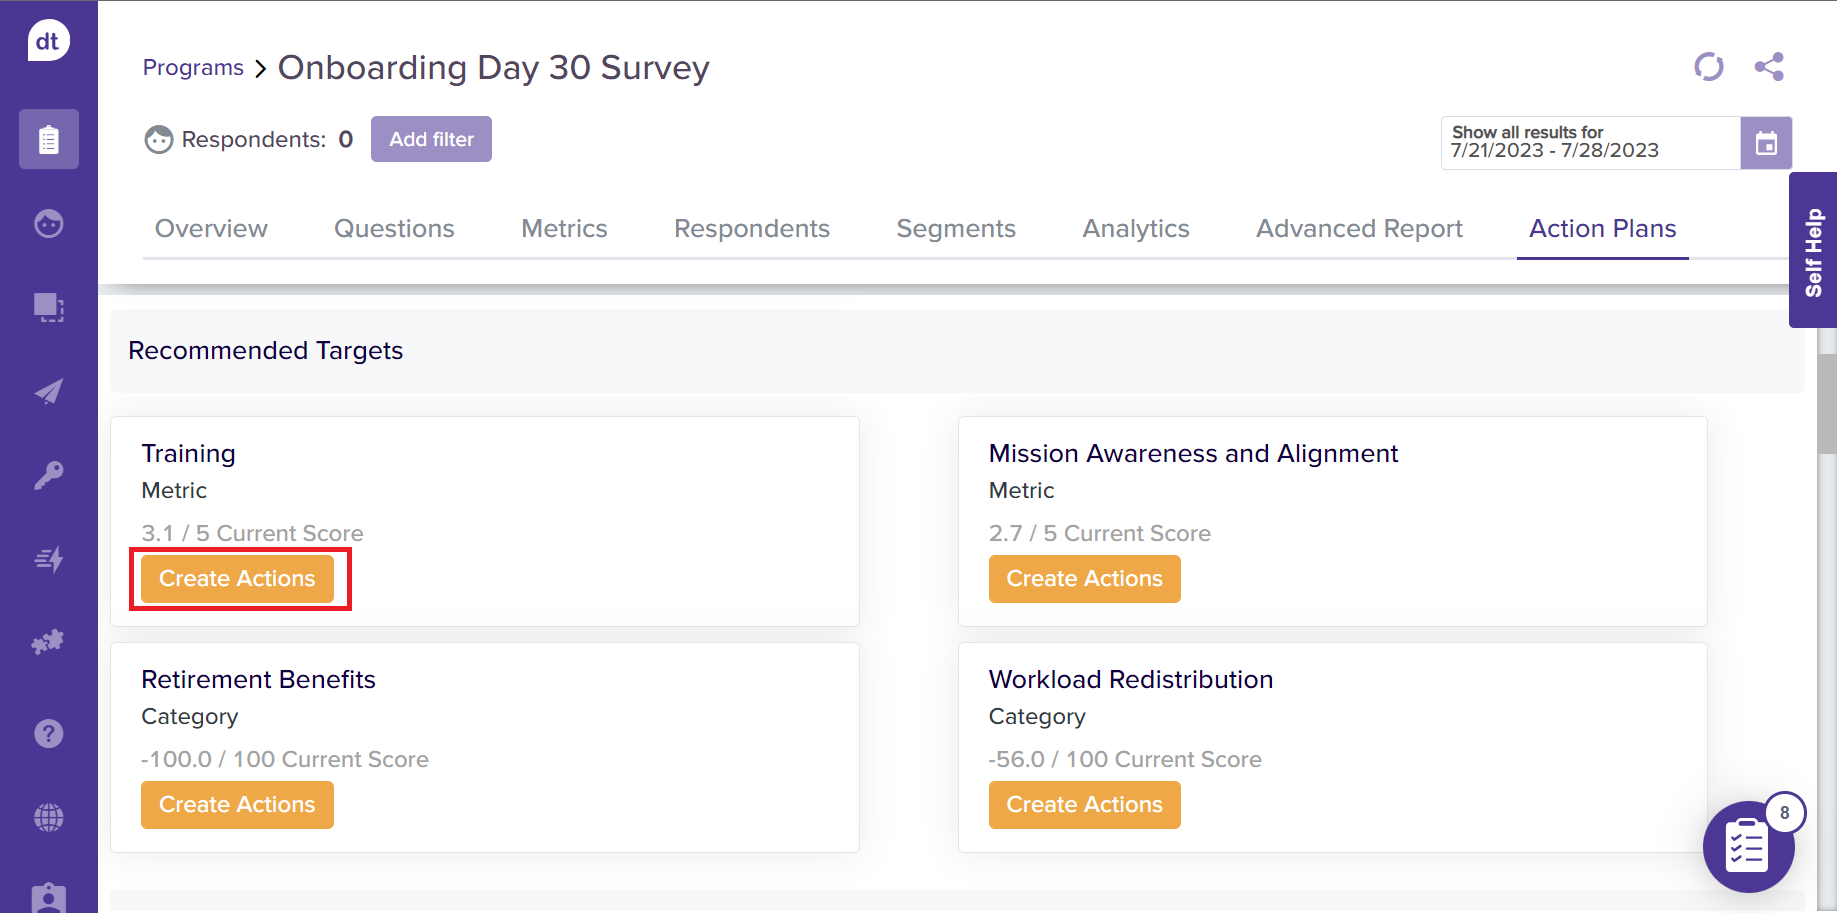
The following screen will display suggestions for creating an Action Plan from templates you can reuse.
Dropthought has action plan templates for some of the commonly noticed areas of improvement observed in the industry.
Select the one that suits you best and click on Continue.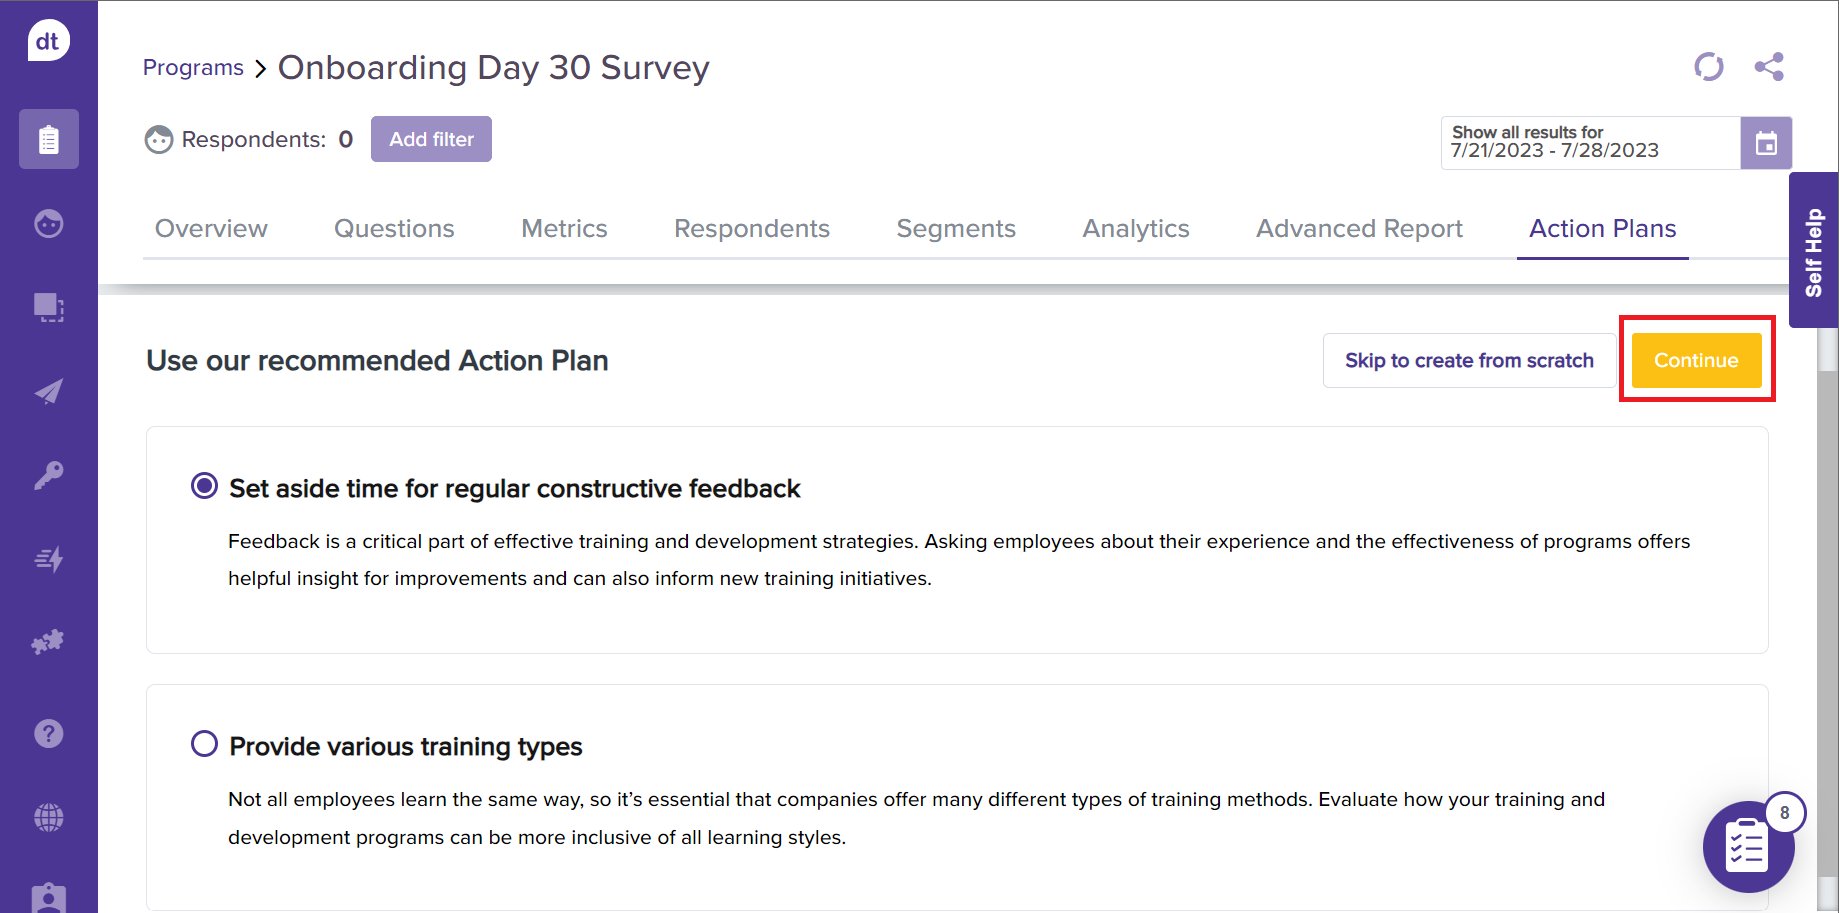
You will be directed to the action plan creation page if no templates are available.
The following screen will have the Action Title and Description pre-filled. You can edit them as required.
Instead, you can also create one from scratch.
Click on Skip to create from scratch.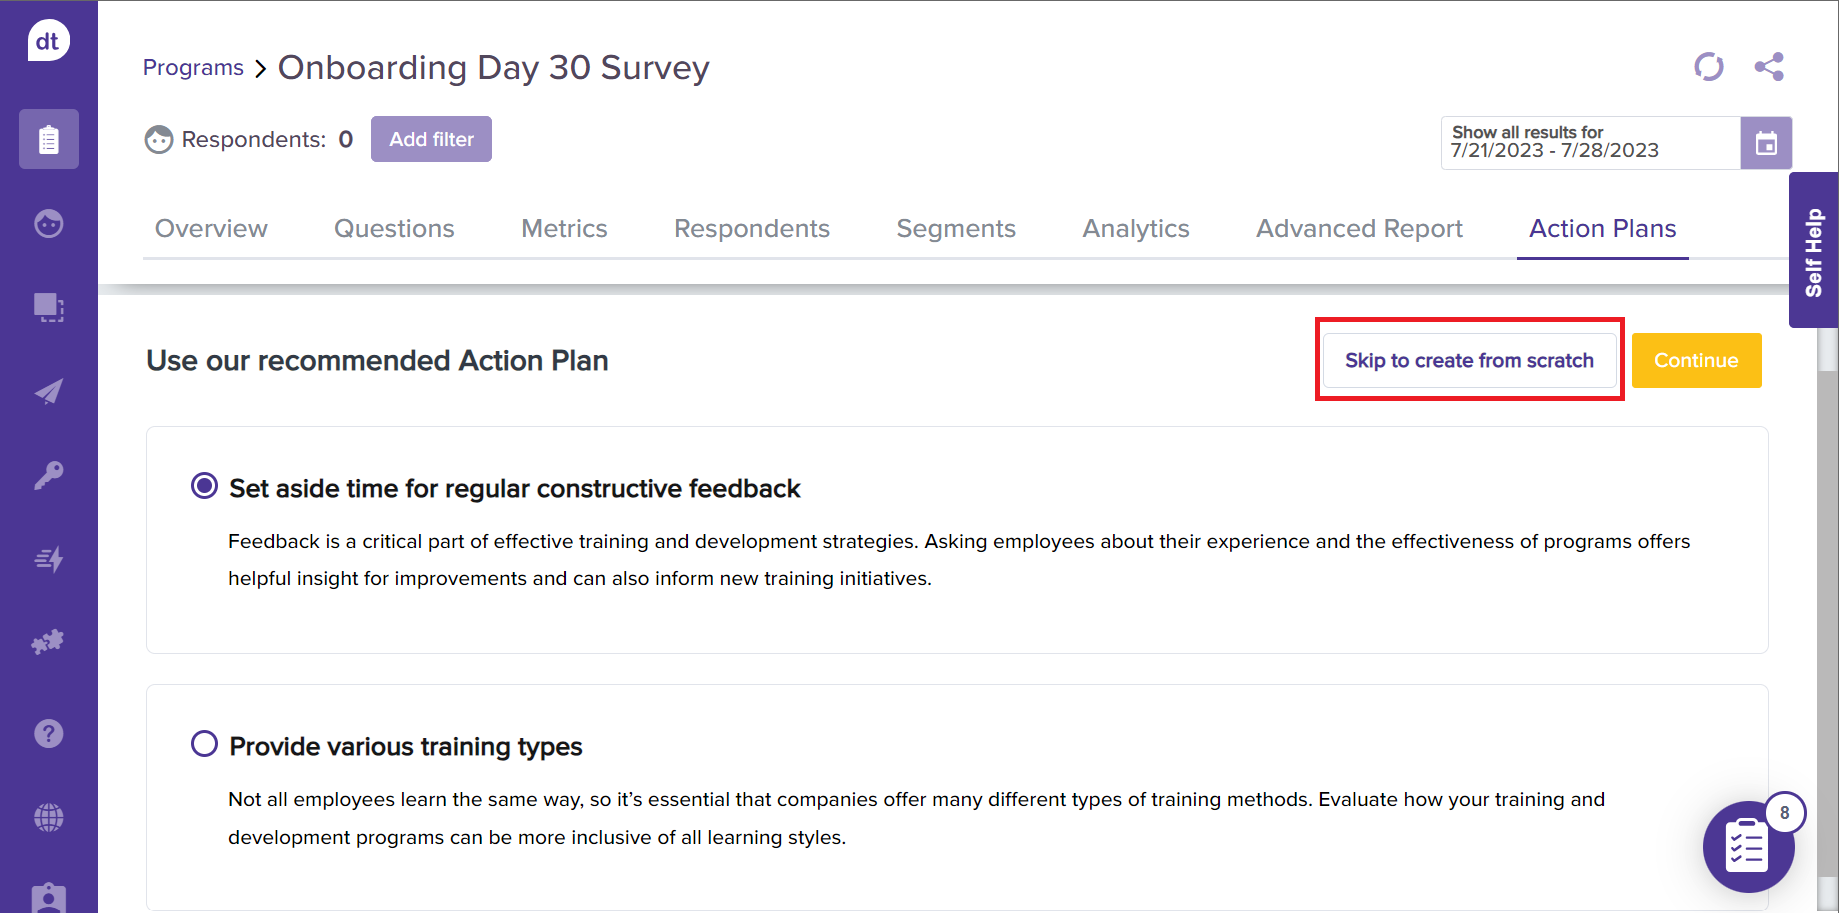
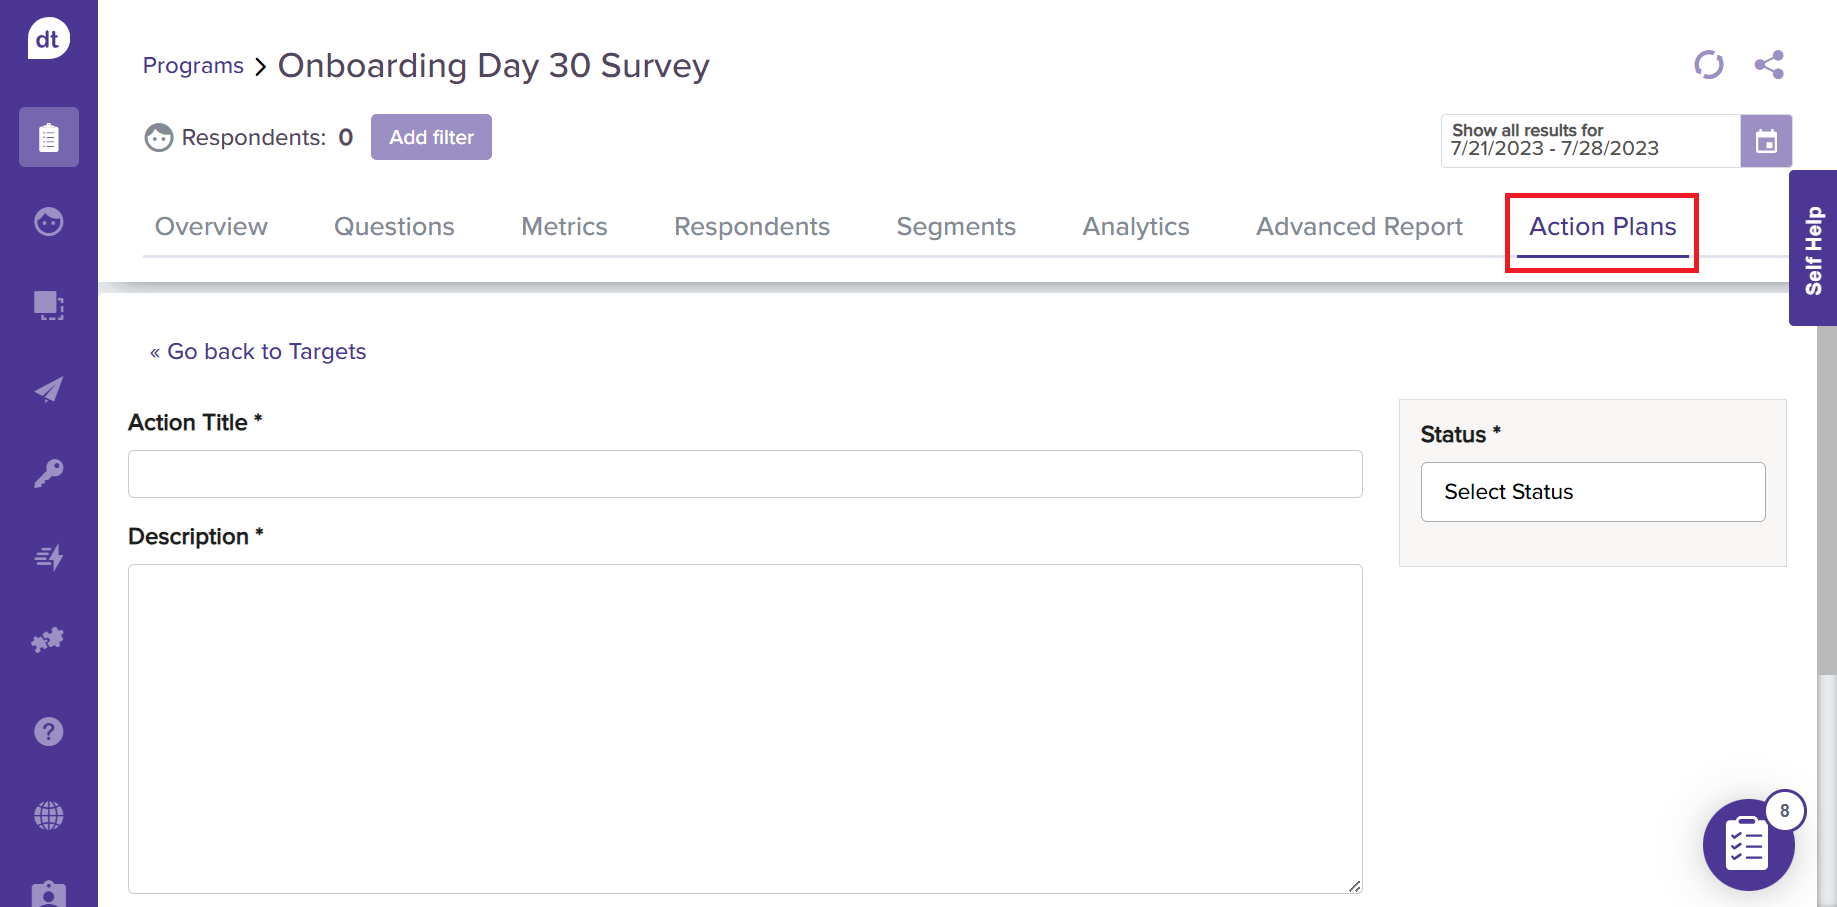
On the following screen, you can enter the Action Title and Description.
Make use of the rich text editor to format your Action Plan Description.
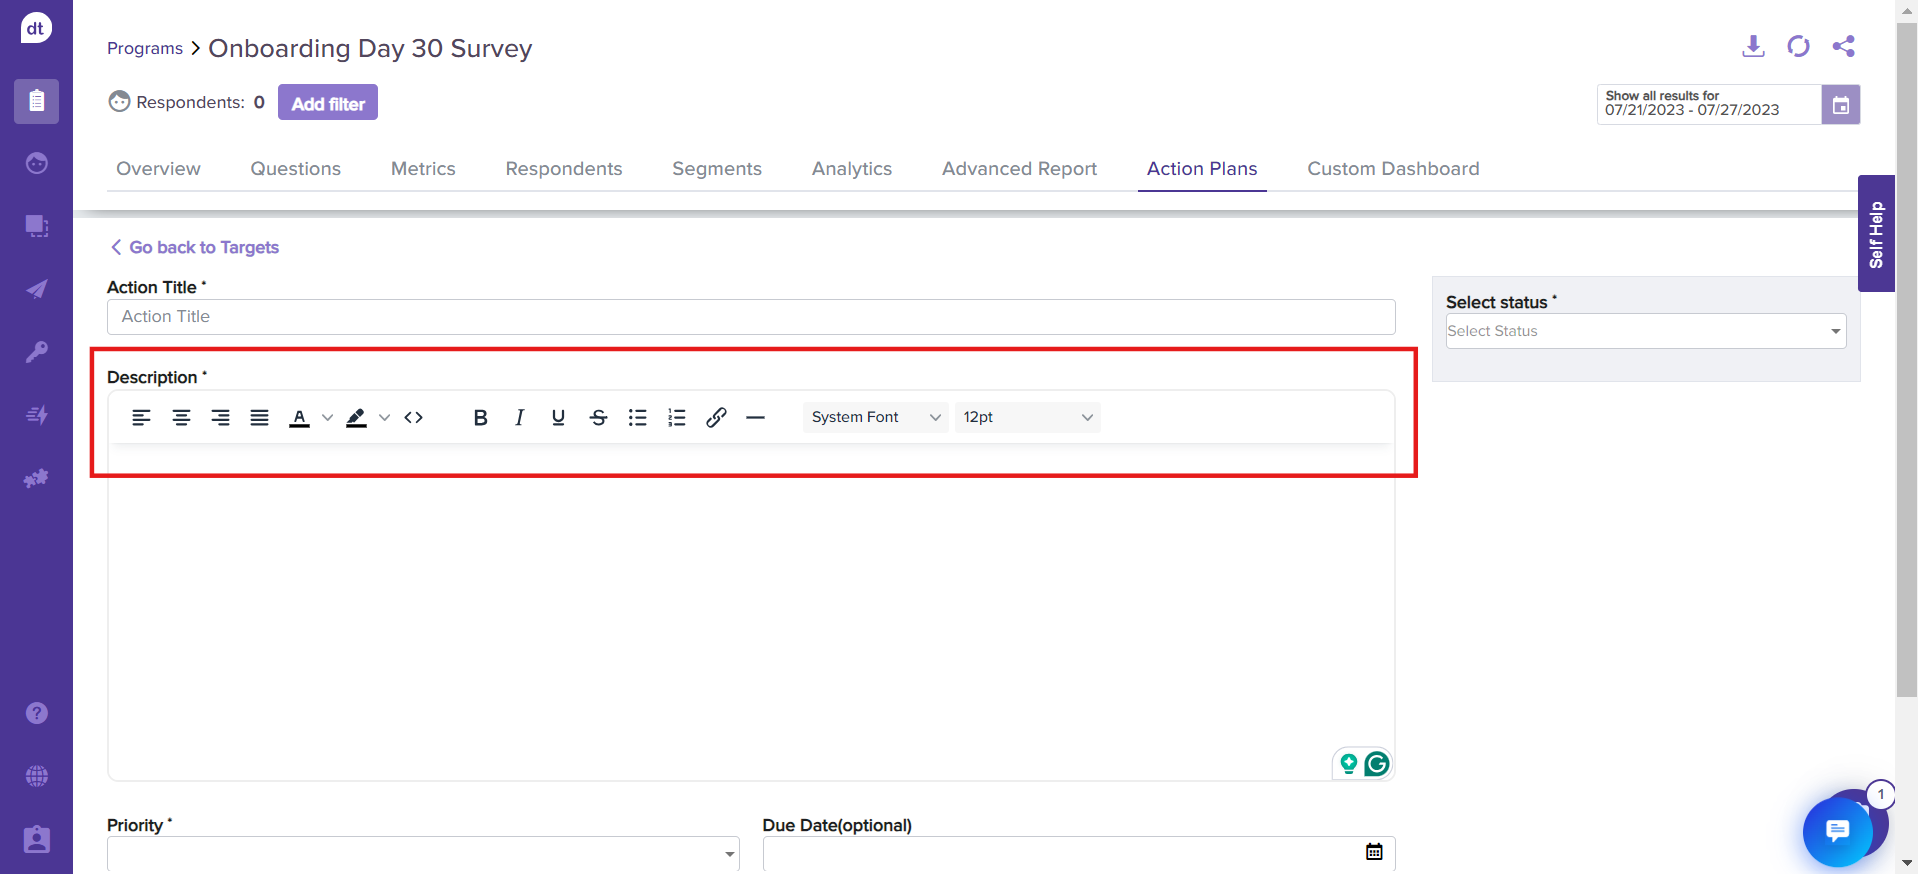
Following the Description box are:
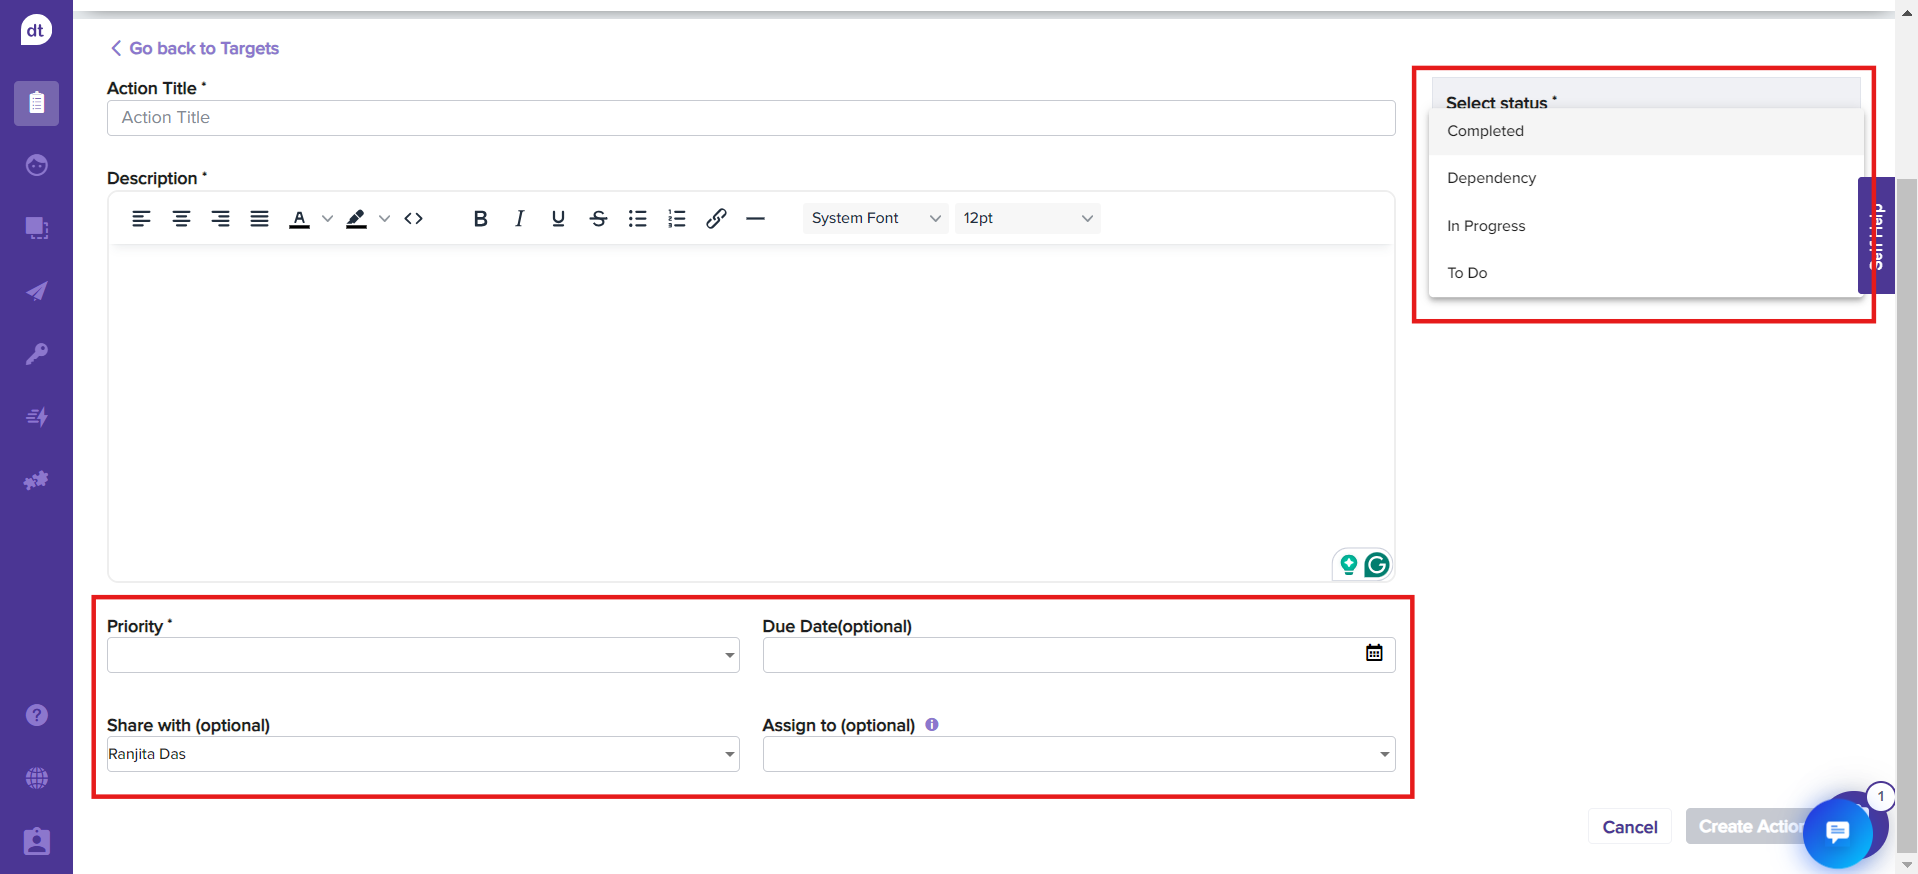
Status: You can select the action plan status from the dropdown menu. These can be updated upon proceeding with each phase.
Priority: You can select the level of priority from the dropdown menu.
Due Date: You can set a date for completing the prescribed steps for the action.
Share with (Optional): You can share the action plan with other users using Dropthought. Upon sharing, the respective Action Plan will be displayed below Your Action Plans for them.
Assign to (Optional): You can assign the action plans to yourself or any user.
Note:
Upon creating an Action Plan, the plan's status can be updated without having to “Edit” the action plan, as the status is expected to keep changing.
To update any other fields, click on Edit Action Plan and make the changes.
All the changes will be auto-saved!
Click on Create Action Plan to save the action plan and notify the collaborators.
Note:
Users assigned with Action Plan will receive reminders via email upon approaching the due date.
Dropthought will notify updates to everyone with who the Action Plan has been shared.
Miscellaneous Action Plans
In addition to creating Action Plans for the Recommended and Other Targets provided by the system, you can create your Action Plans. These can be for metrics unrelated to the program and can be viewed and used from the Your Action Plans section within the Action Plans tab.
Please note that such action plans will be tagged as Miscellaneous.
Apart from adding your steps, the functionalities remain the same as the system-generated action plans.
Follow the below steps to create your Action Plans:
Click on Create Actions provided beside Your Action Plans.
You can enter an Action Plan Title and create your own Action Plan. Please refer to the previous section to learn more about each field on the page.
Click on Create Action Plan to save your action plan.
View Action Plans
All created action plans can be viewed from the Action Plans tab within the program.
Navigate to the Action Plans tab within the program.
Click the View Actions button from the required Target Area card/folder.
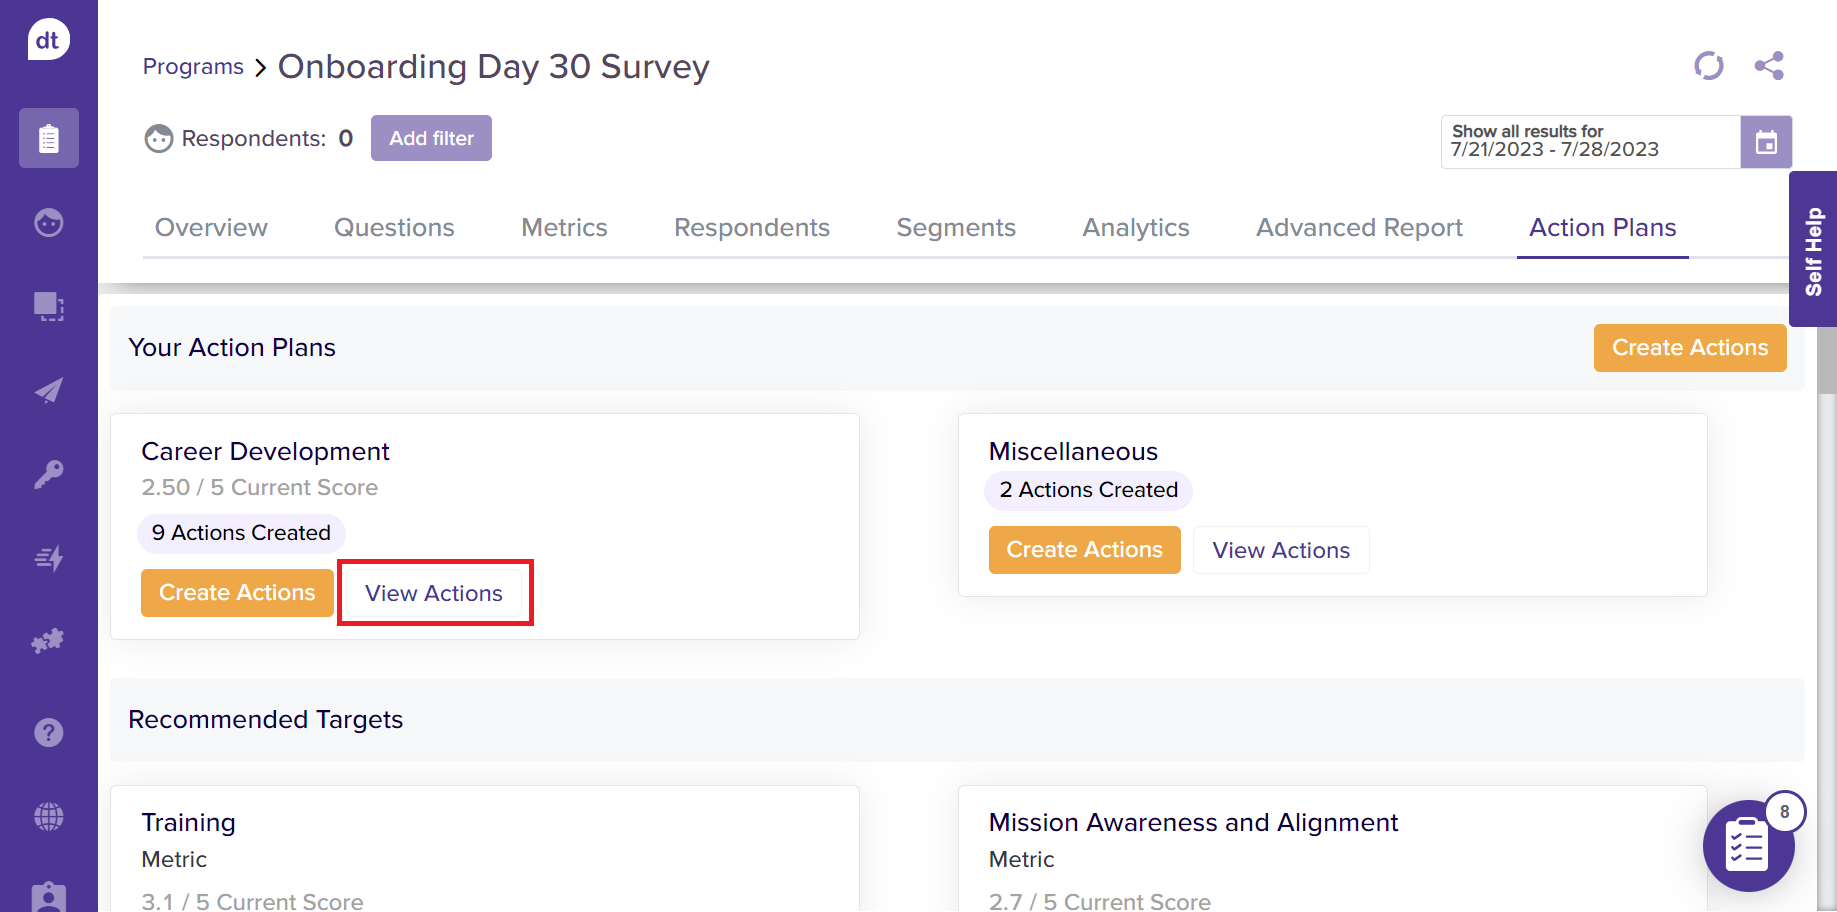
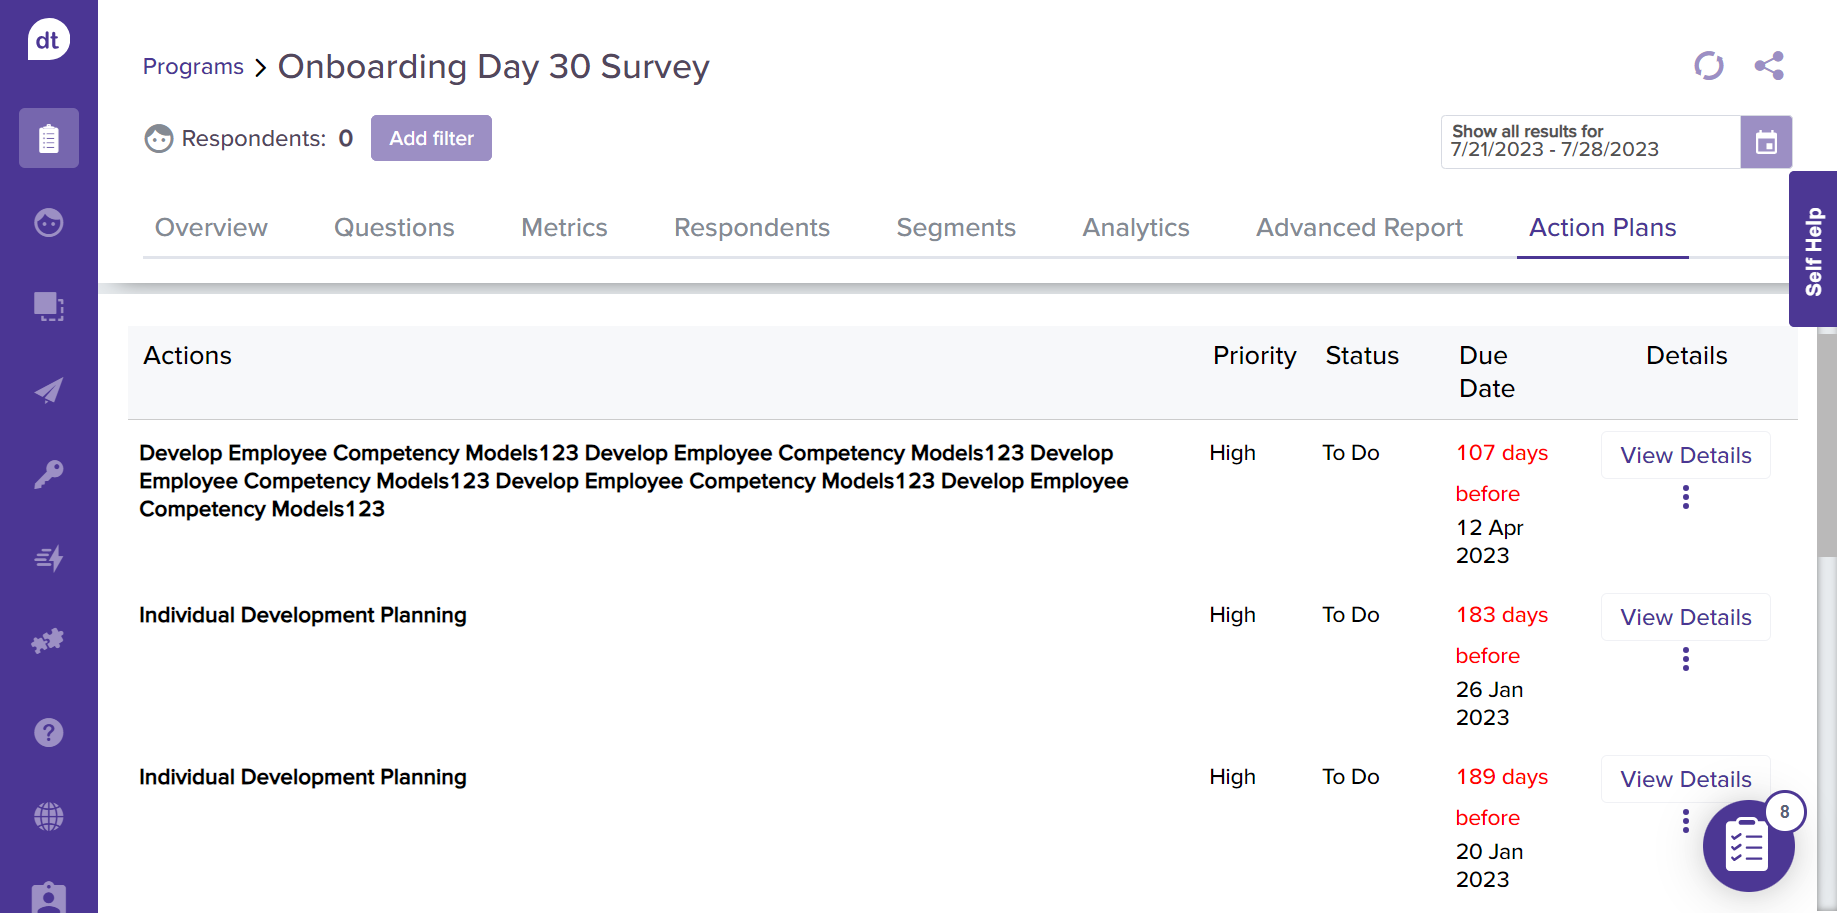
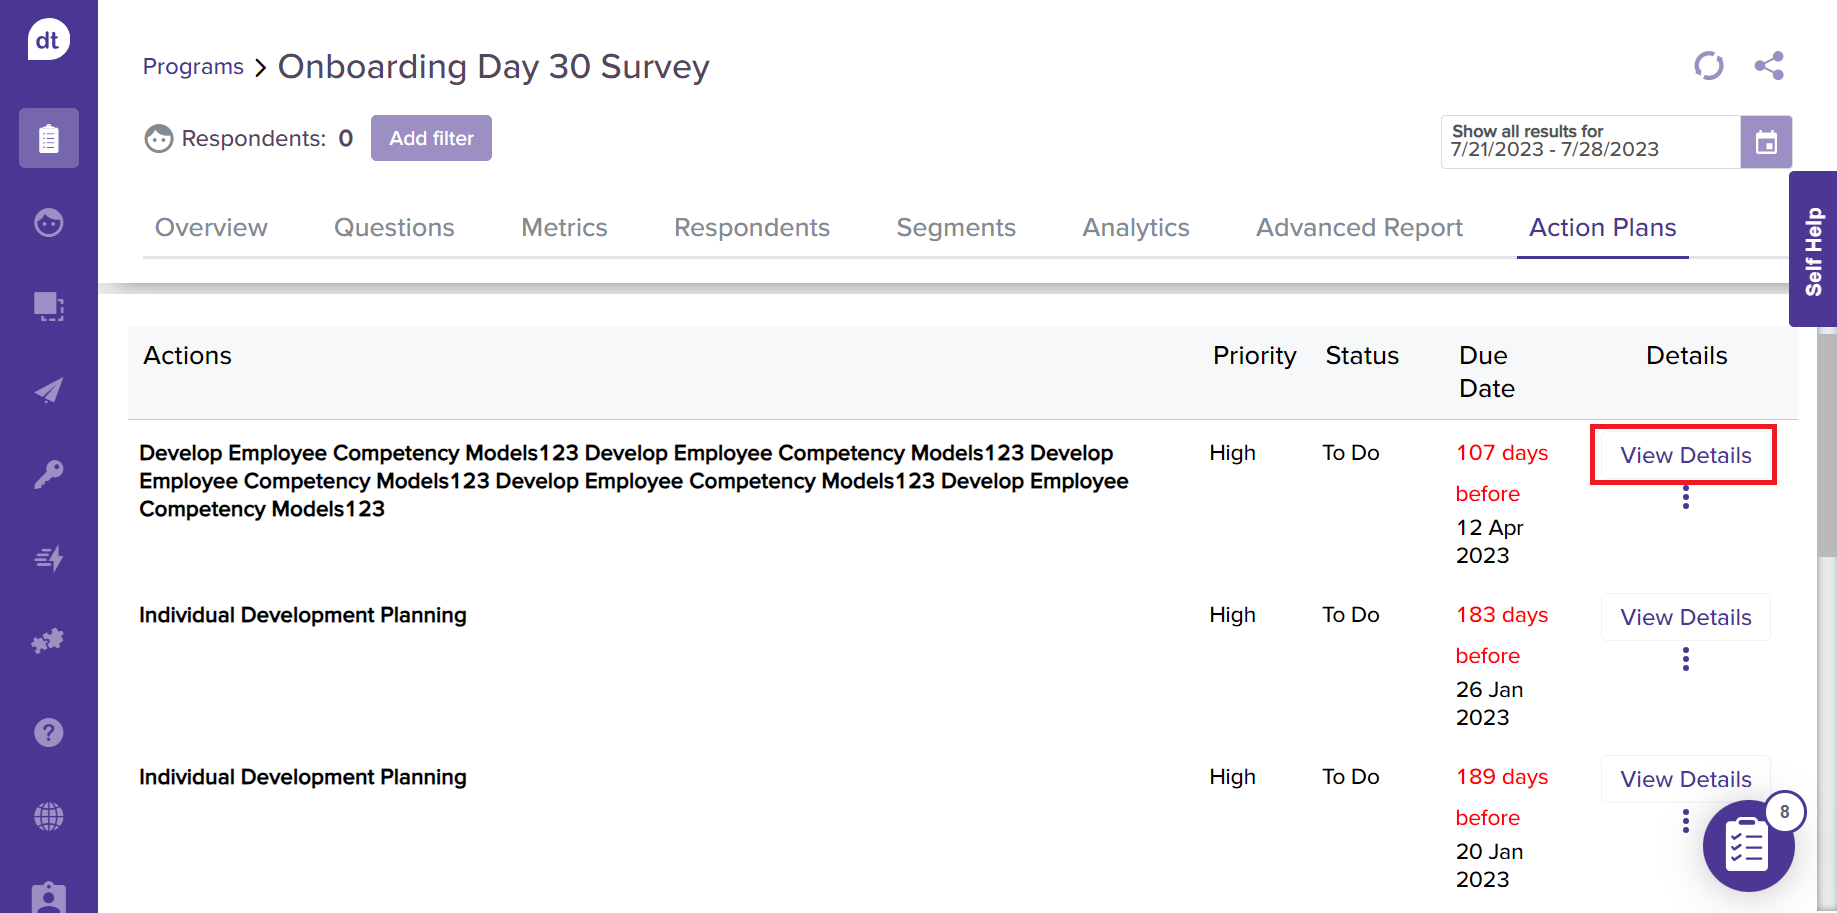
The following screen will display all the Action Plans available for the respective Target Areas, their priority scale, current status, and due date.

Click on View Details to view more details of any specific Actions.
From the following screen, you can view the action plan details. Click on Edit Action Plan to modify any of the details.
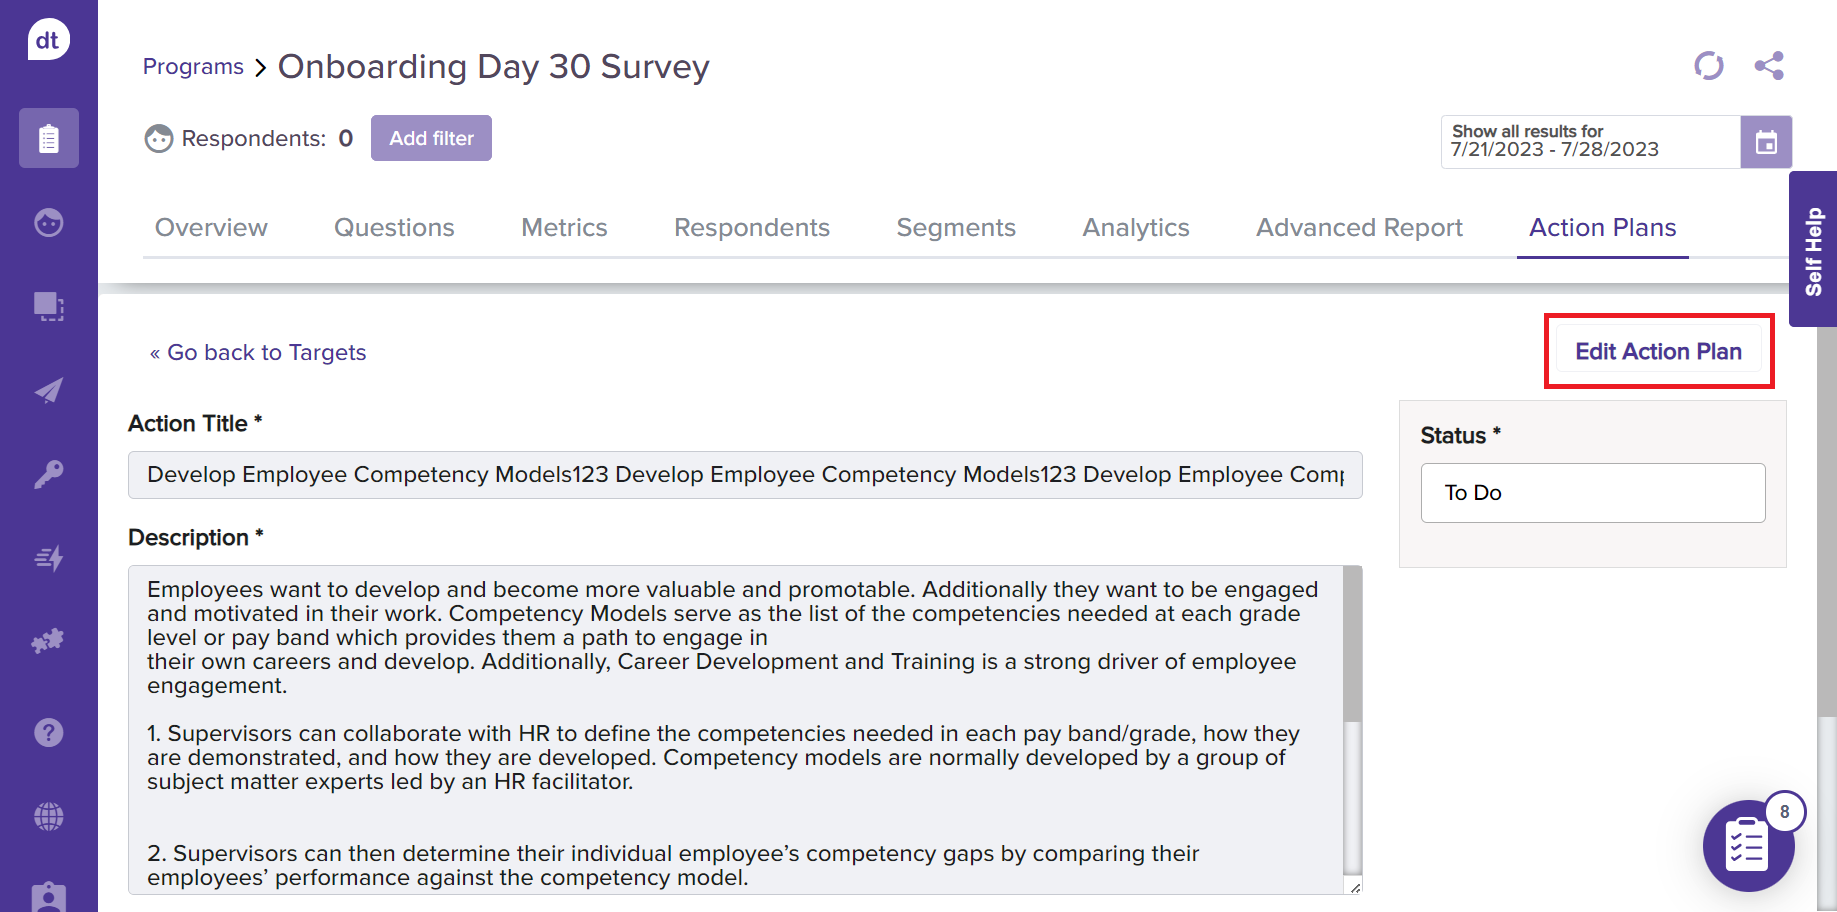
Further, you can also add Comments (like action plan status, important updates) and view History (timeline of everything related to the respective action plan).

You can also click on more options (three dots) from the previous page to edit or delete any Action Plan.