Zendesk Overview
|
|
|


Integrating Zendesk with Dropthought streamlines customer feedback and support tasks, resulting in happier customers, smoother workflows, and faster issue resolutions i.e. quick actionability.
This article will help you understand:
How do you enable and disable your Zendesk account’s connection with your Dropthought account?
What are the use cases that can be achieved from this integration?
What are the benefits of using Zendesk integration?
Benefits of Using Zendesk integration with Dropthought
Better Customer Feedback: Collect and analyze feedback seamlessly across all channels.
Enhanced Insights: Gain deeper understanding of customer interactions with advanced analytics.
Improved Experience: Create smooth and delightful customer experiences.
Real-Time Actions: Respond to feedback quickly within Zendesk.
Informed Decisions: Use comprehensive reporting to guide business strategies.
Scalability: Support businesses of all sizes effectively.
Team Collaboration: Better teamwork with integrated data.
Continuous Improvement: Constantly monitor and enhance customer interactions.
By combining the strengths of Zendesk and Dropthought, businesses can unlock new levels of customer experience and operational efficiency.
Enable Zendesk Integration
Follow the below steps to enable the integration:
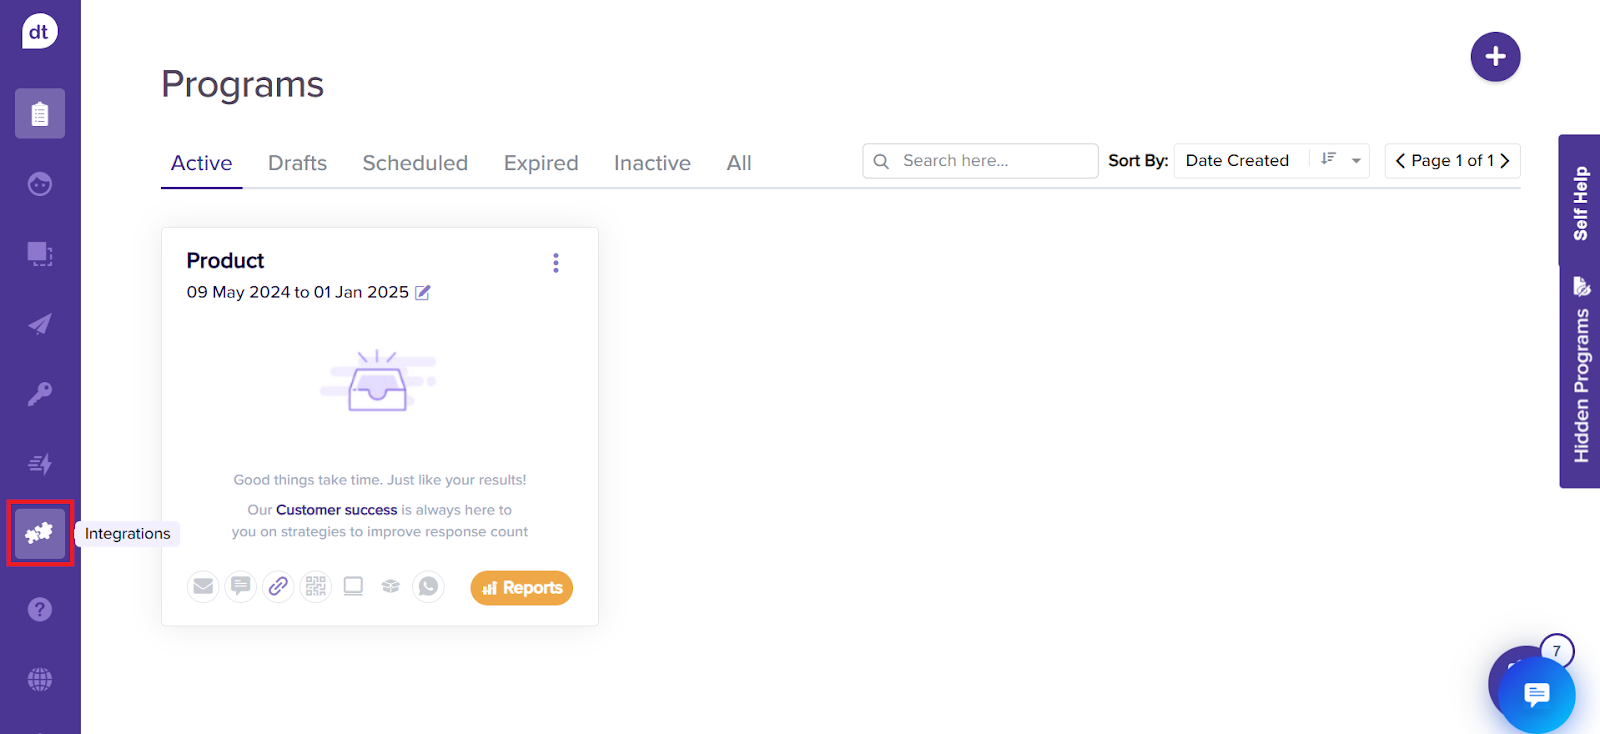
Click on the integrations icon from the left side panel.
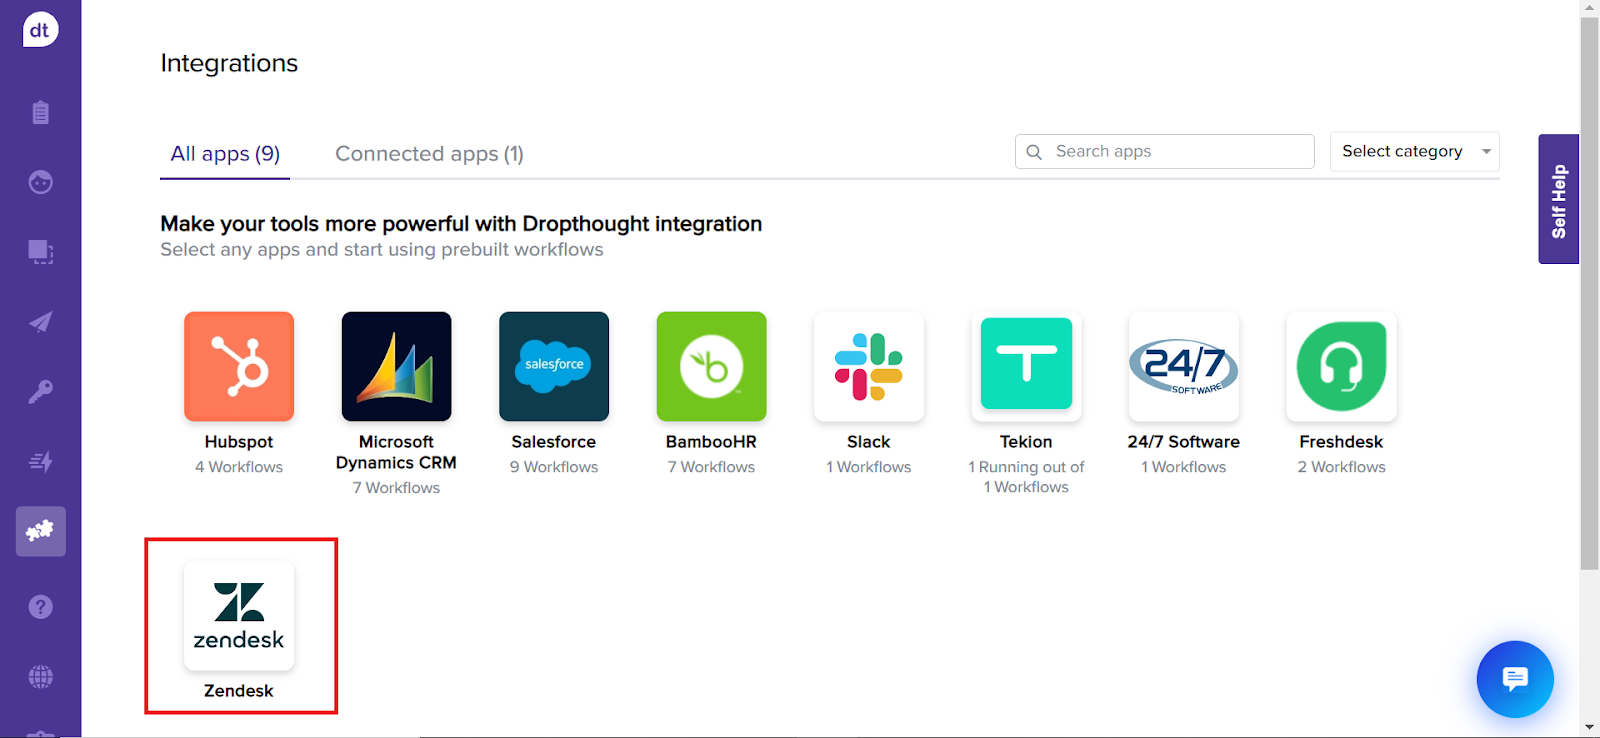
Click on the Zendesk logo.
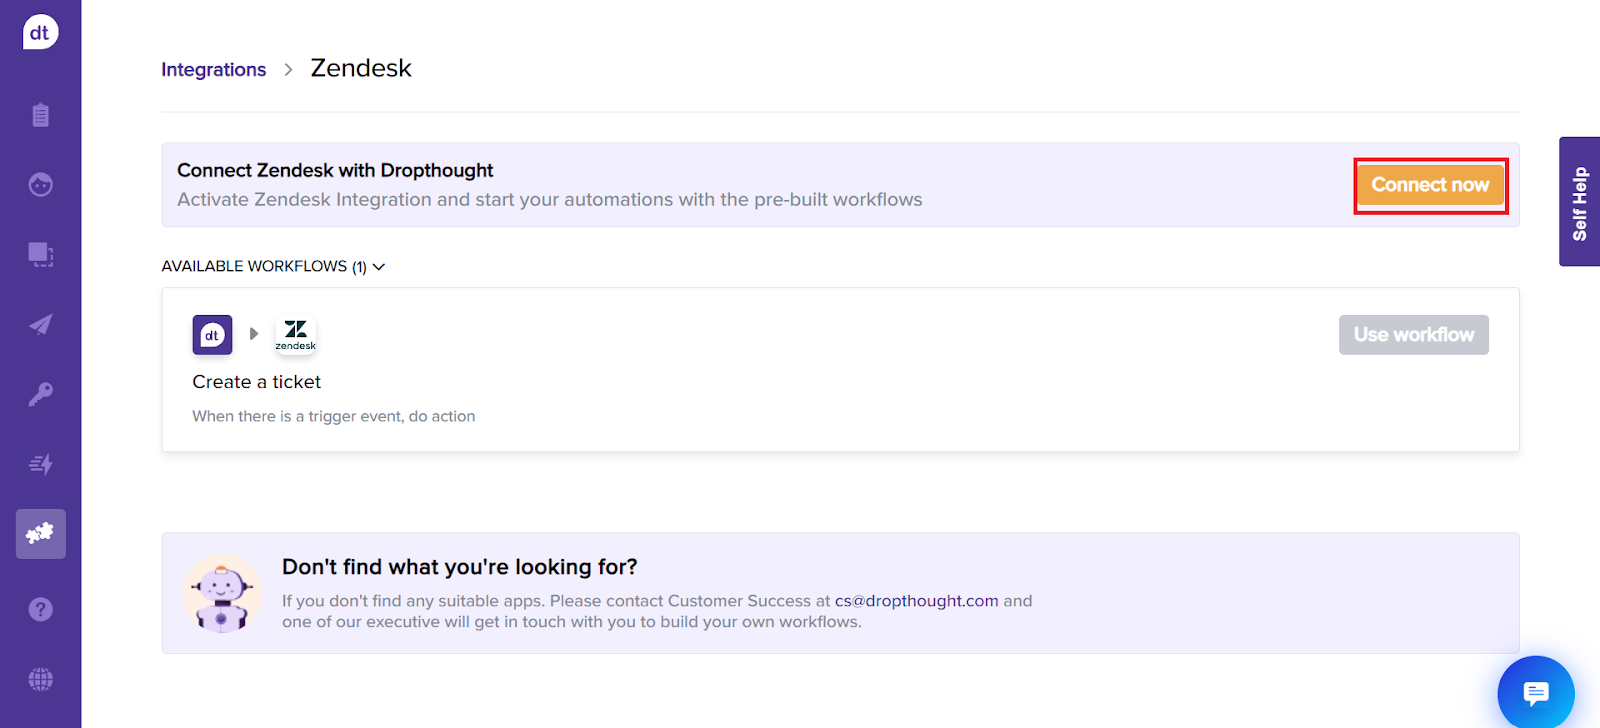
From the following page, click on Connect now button to get started with enabling the integration.
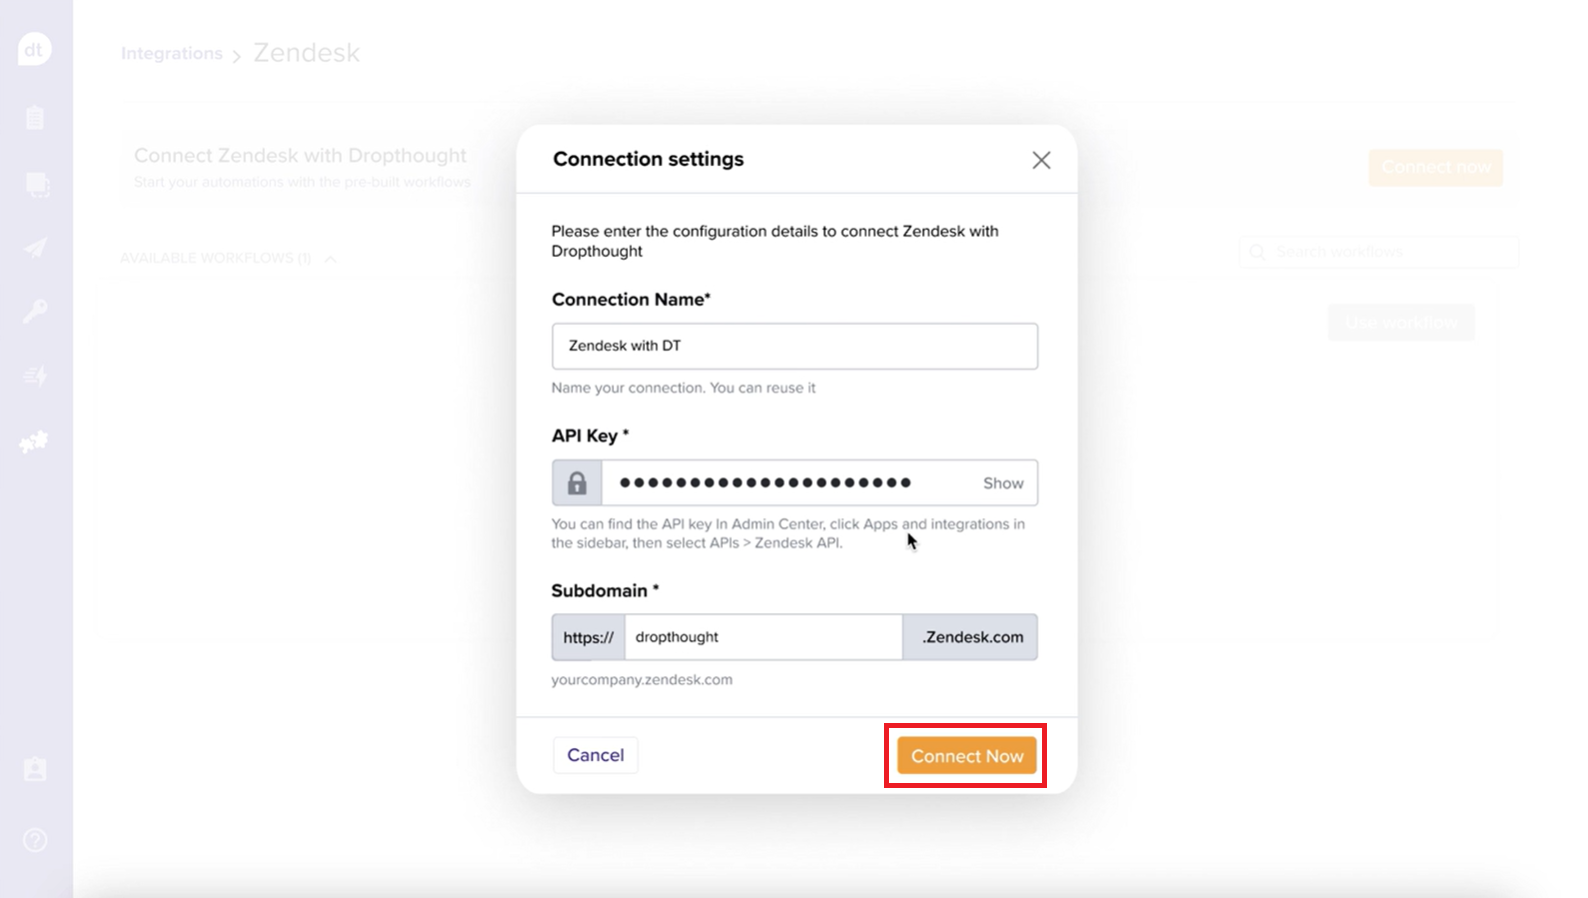
From the following pop-up, enter the required information:
Connection name:
Assign a name to your connection for easy identification and reuse.
Find API Key:
Go to the Admin Center in your Zendesk account.
In the sidebar, click on "Apps and Integrations."
Select "API" and then "Zendesk API."
Enter Subdomain:
Use your company name as the subdomain in the format
yourcompany.zendesk.com.
You will be prompted upon successful integration.
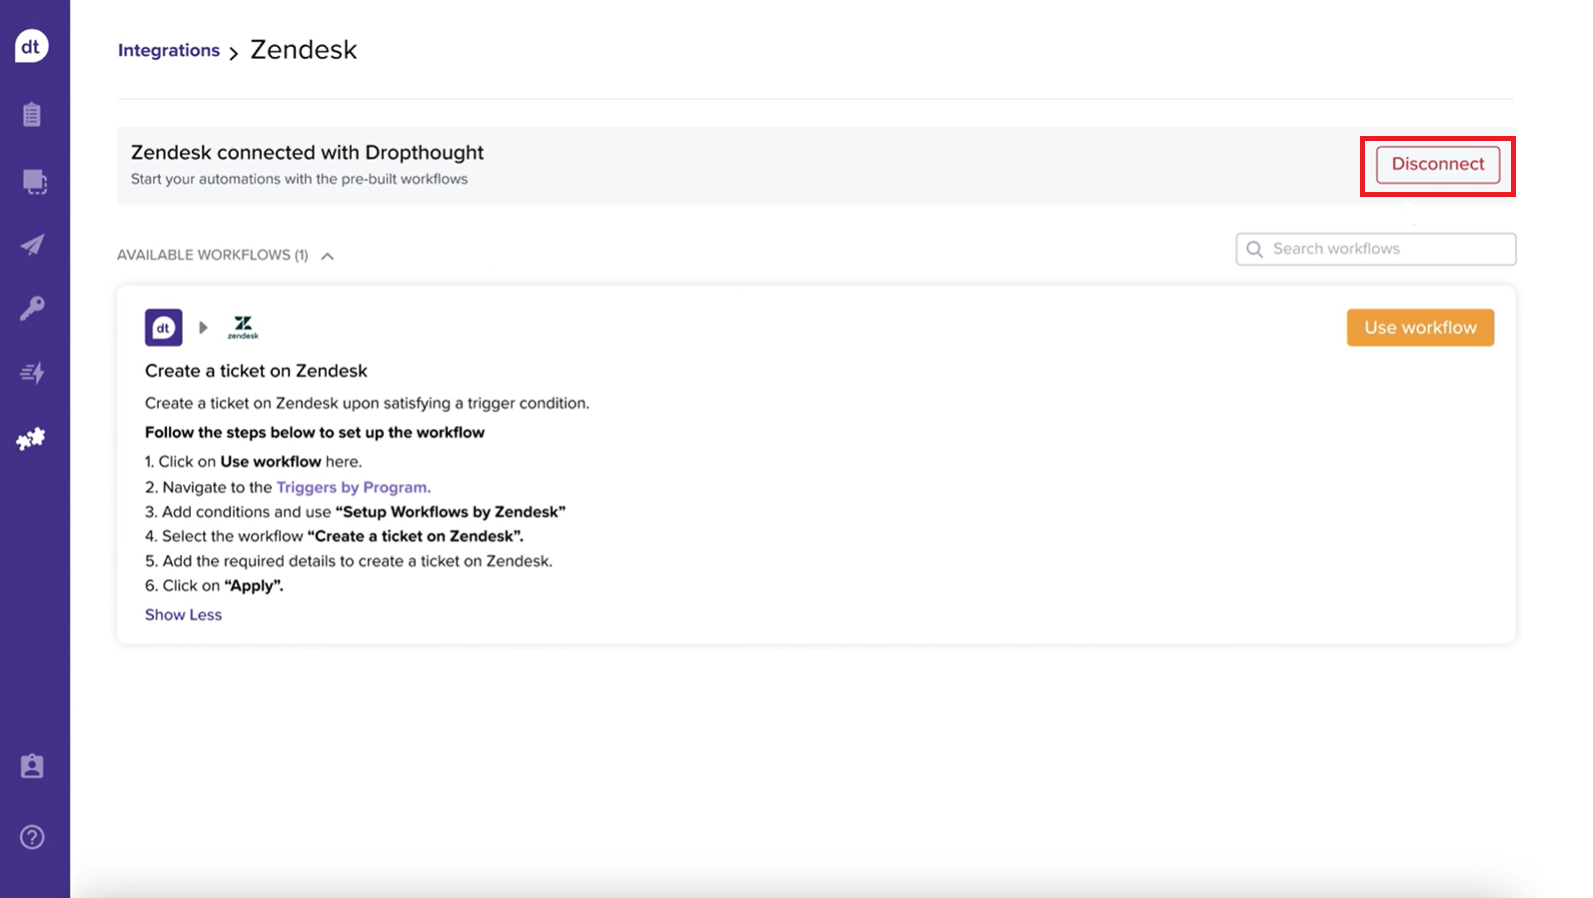
Disable Zendesk Integration
Follow the below steps to disable the integration:
Follow steps 1 and 2 from the enable integration section (mentioned above).
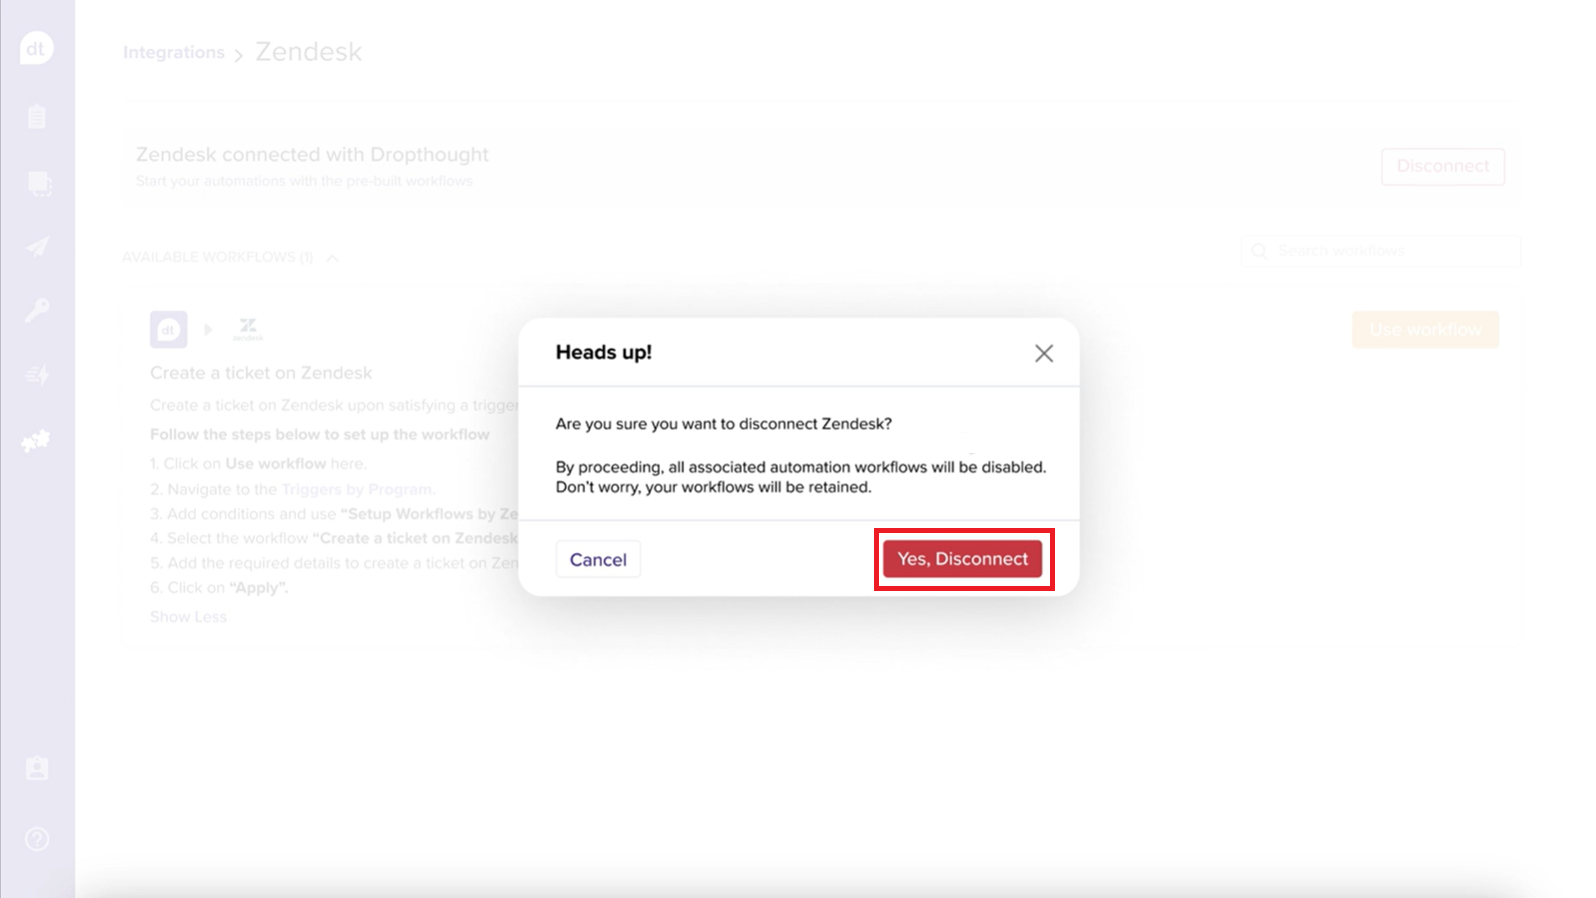
Click on the Disconnect button to disable the integration.
You will be prompted to confirm. Click on Yes, Disconnect to continue.
The Disconnect button will now be replaced by a Connect now button.