|
|
|

Explore the power of Email Invitations, a popular distribution channel with widespread accessibility. Use email as the distribution channel to improve engagement and response rate. With email surveys, you can reach a wider audience, maintain professionalism, and collect valuable feedback efficiently.
This article will help you understand:
How do you enable Email as a distribution channel for your Dropthought account?
What customizations are available when using email as a distribution channel?
How will the "Send Test Email" feature ensure a successful sharing experience?
How to send a survey via Email?
Create a program.
Go to the Distribution tab.
Set up when to send out email.
Add Recipient List.
Locate Email Customization.
Set up email subject, body, and “from” name.
(Personalize using metadata tags and enhance the look using text formatting tools)Set up reminder emails, if required.
Send Surveys via Email
Note: Use the appropriate tools to access the distribution channels that suit you best.
Follow the below steps to send out a survey via Email:
Navigate to the required program’s Distribution tab.
Set up the program activation time and date. Follow steps 1 to 8 with the Distribution tab article.
Schedule the email by selecting the first button under Send Email/SMS/Whatsapp option (refer to Schedule Survey in Distribution Channels).
Choose recipients from the drop-down list (collected from Contact lists).
The Email customization toggle will turn ON automatically when you select Send Email/SMS/WhatsApp.
Enter the From Name (sender's name) or use metadata tags from the attached recipient list.
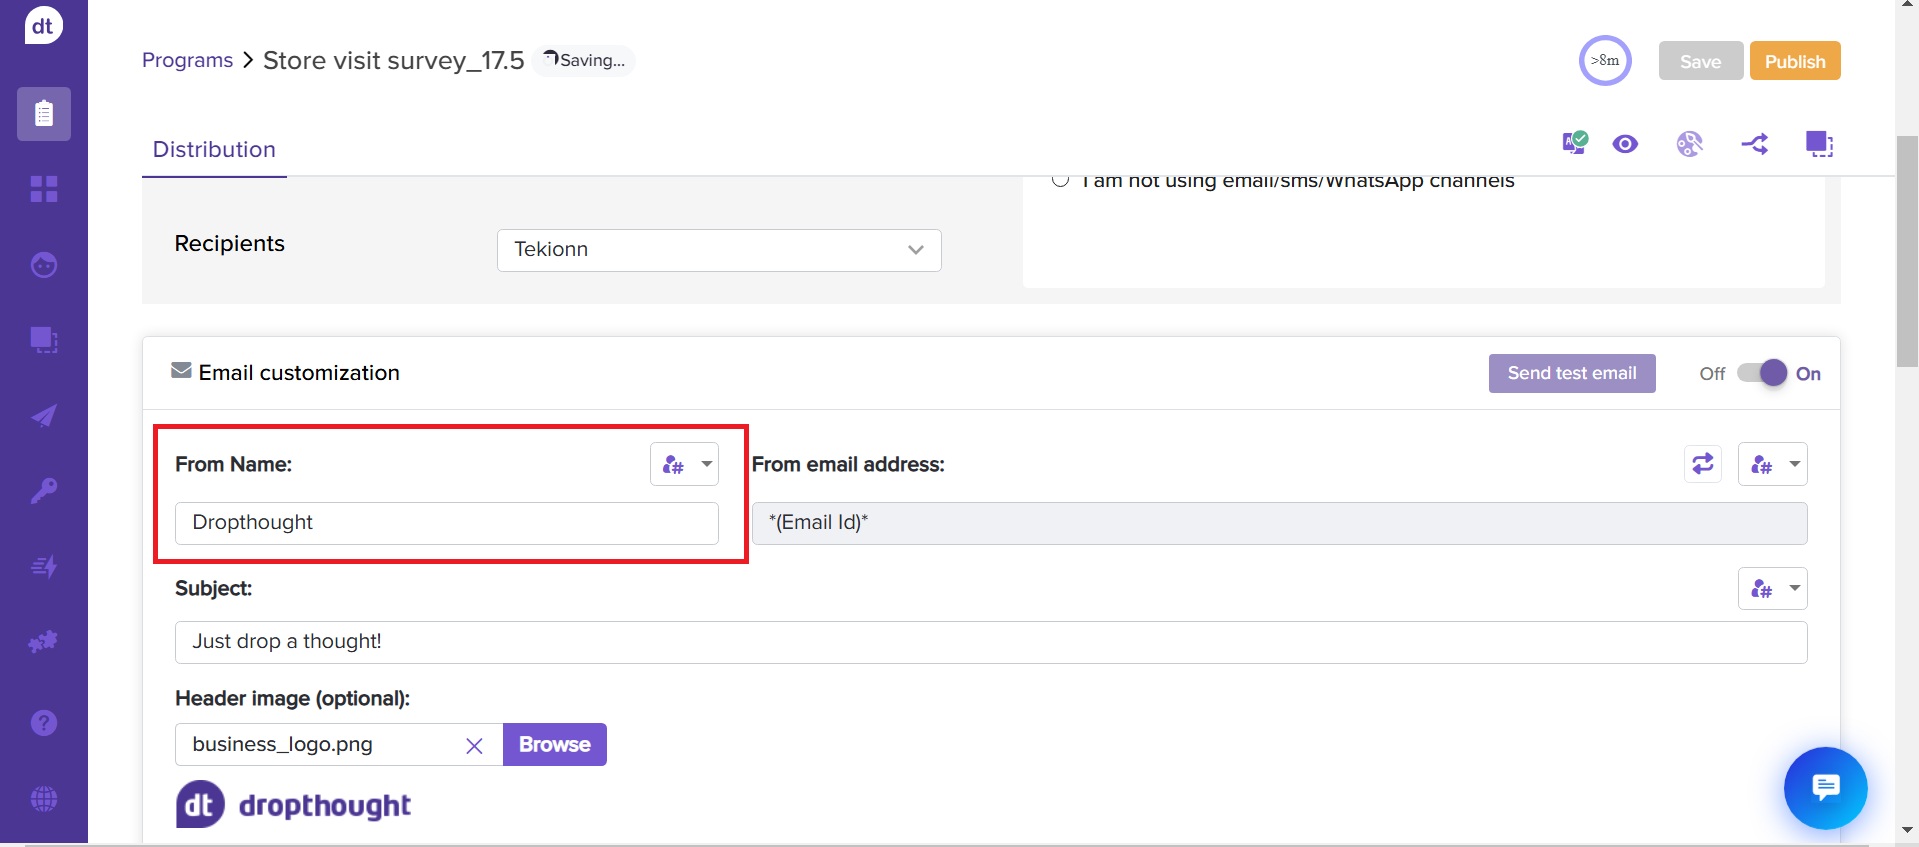
(Optional) Click on the metadata tags icon and select metadata from the drop-down menu as required. It will display the metadata from the recipient list chosen.
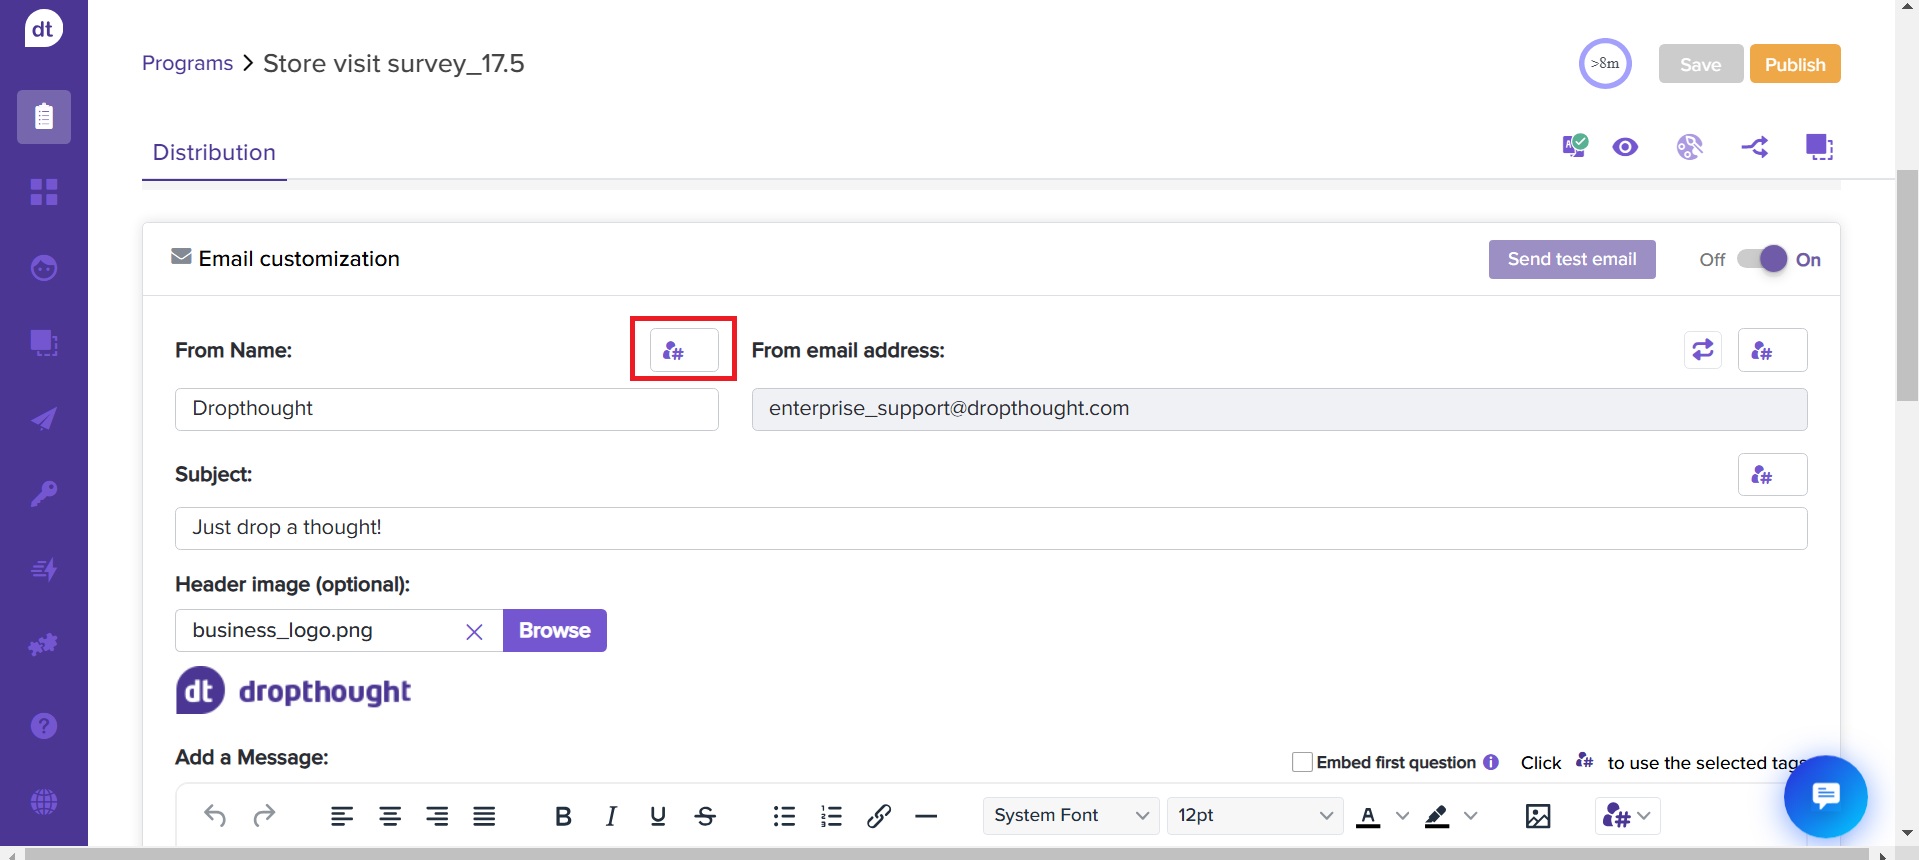
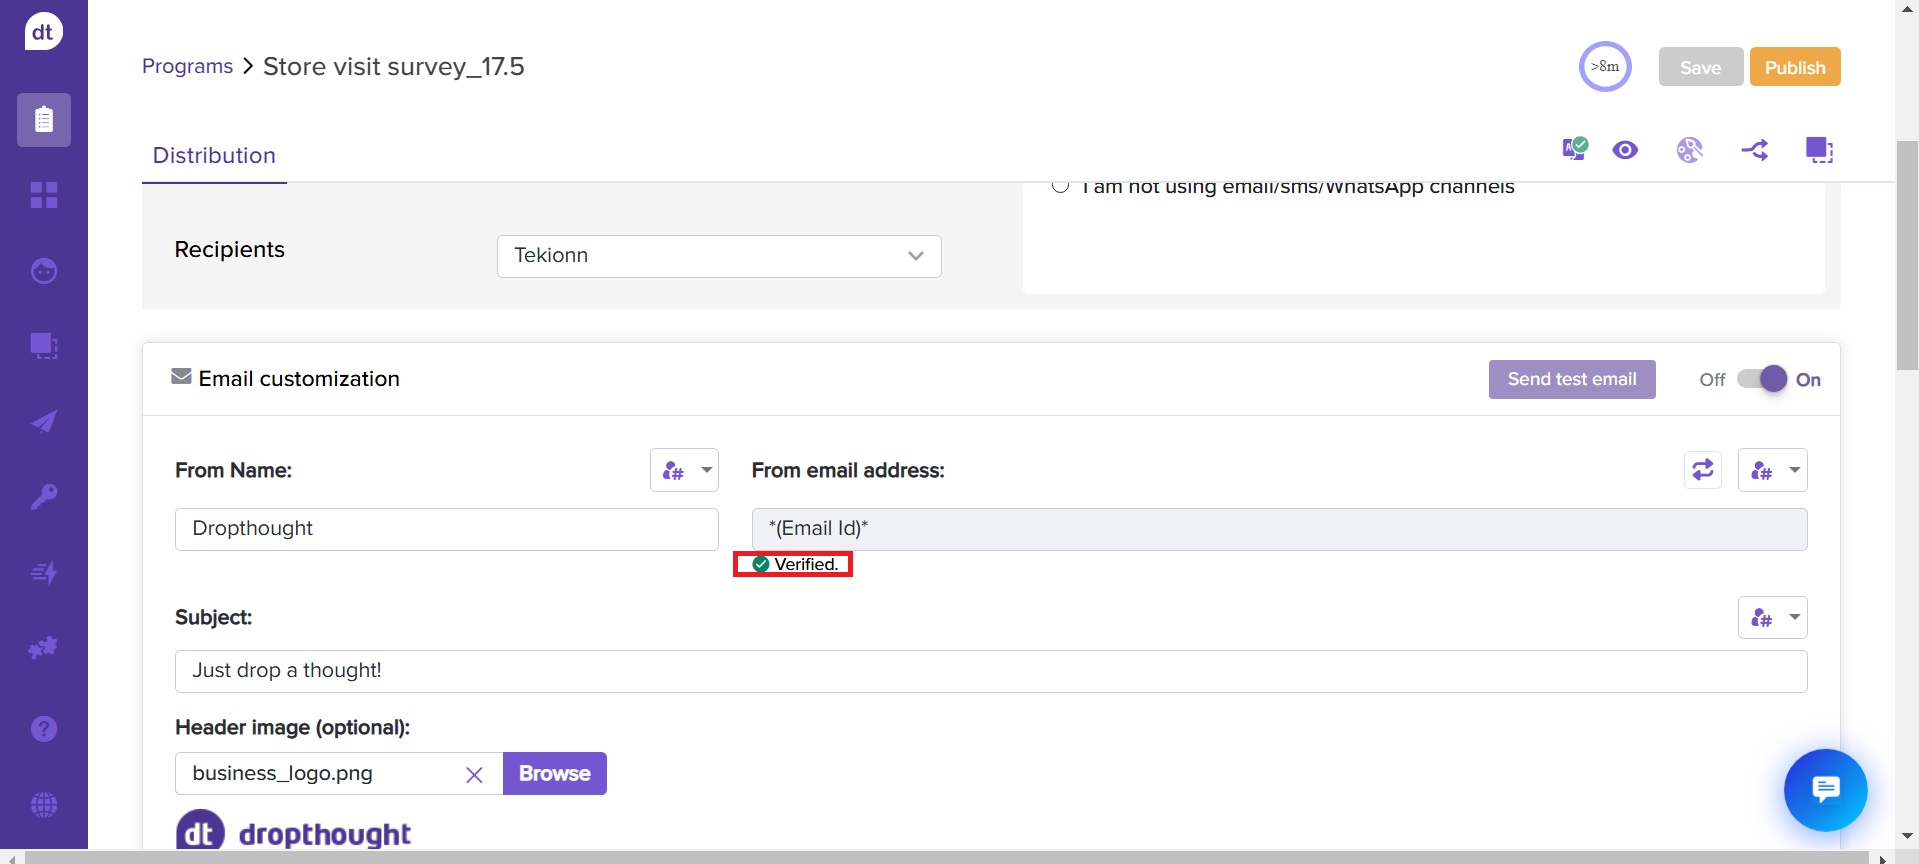
(Optional) You can also use metadata tags to customize the From email address. Click on the metadata icon beside the From email address.
It will display the metadata from the selected list. Select metadata from the dropdown menu.
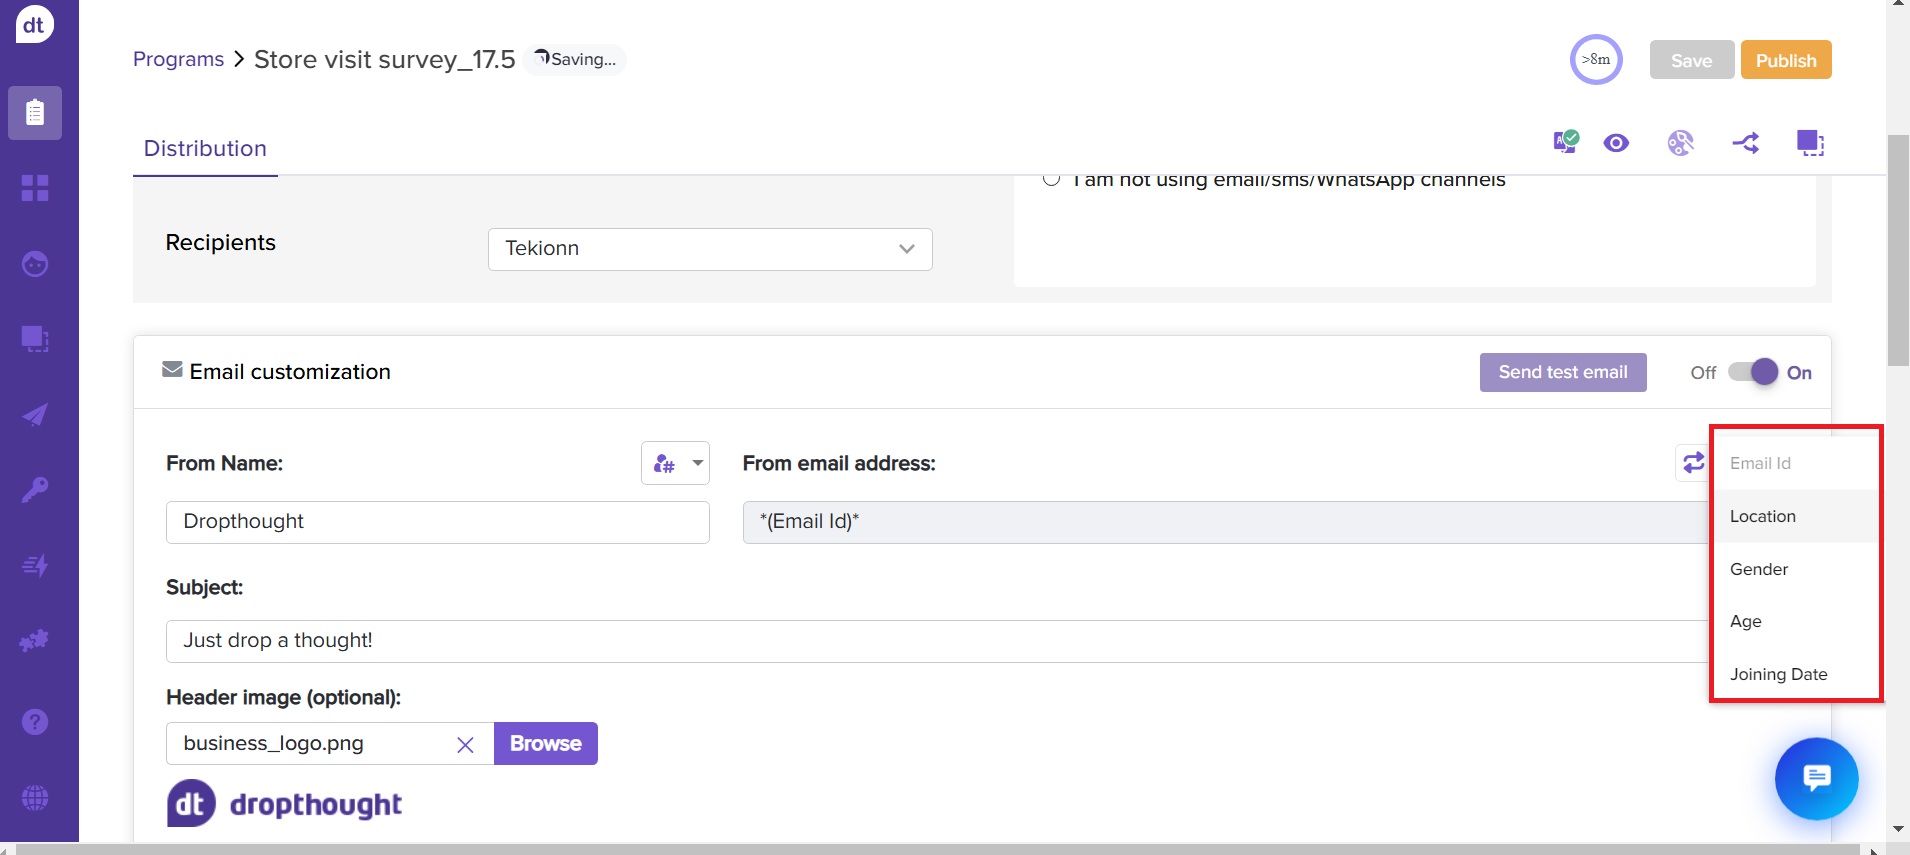
Upon choosing the right metadata, you can view its verification status below the input field.
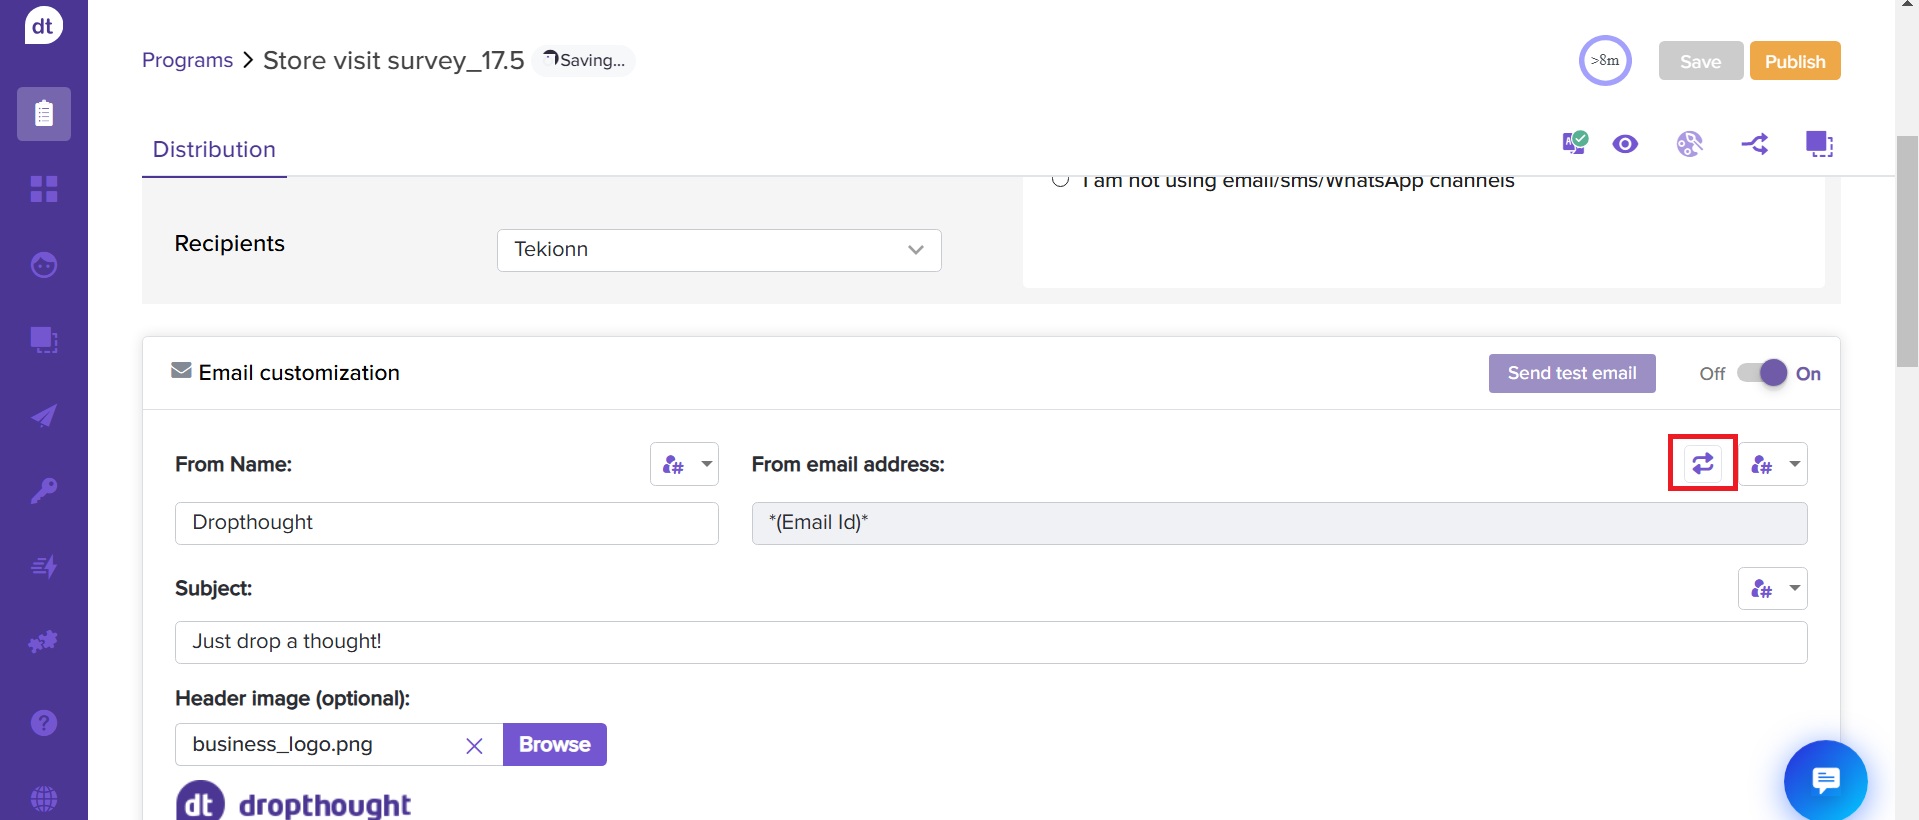
Click the reset icon to revert to the default email ID, if needed.
Enter an email Subject.
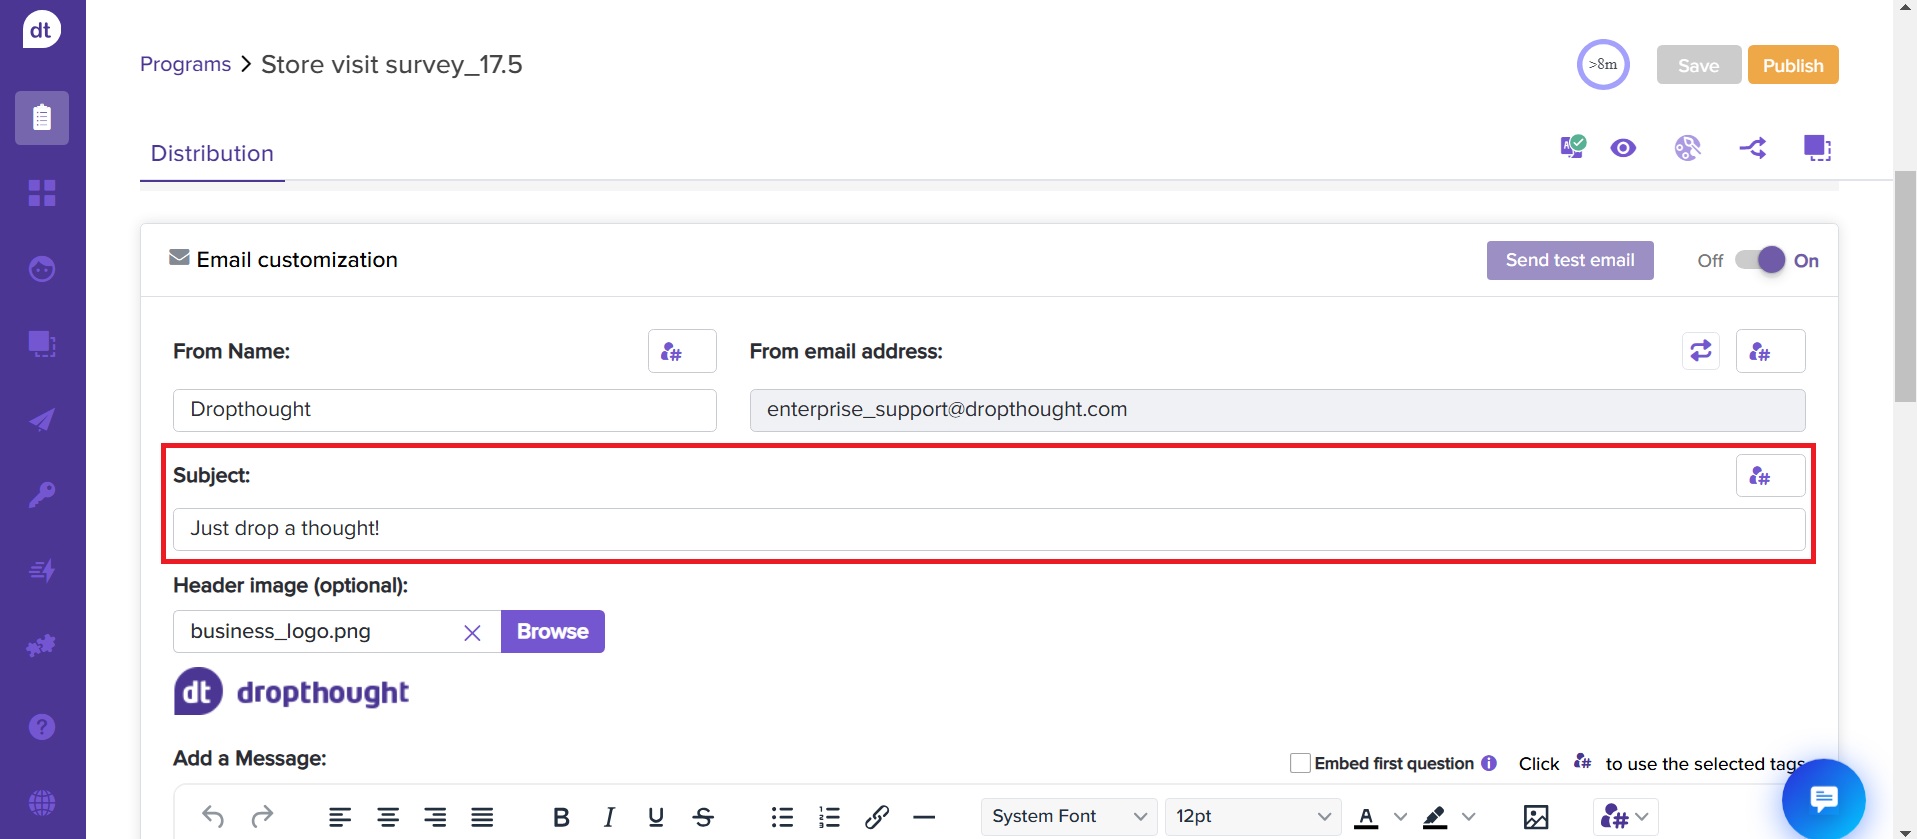
(Optional) Click on
 to use metadata tags from the selected list to personalize the message body.
(Optional) Add a header image to inform recipients (the image should not exceed 1 MB).
If you want to embed the first question in the email body, check the box for Embed First Question. Then, the respondent can mark their response to the question in the email.

Use metadata tags to customize your message body.
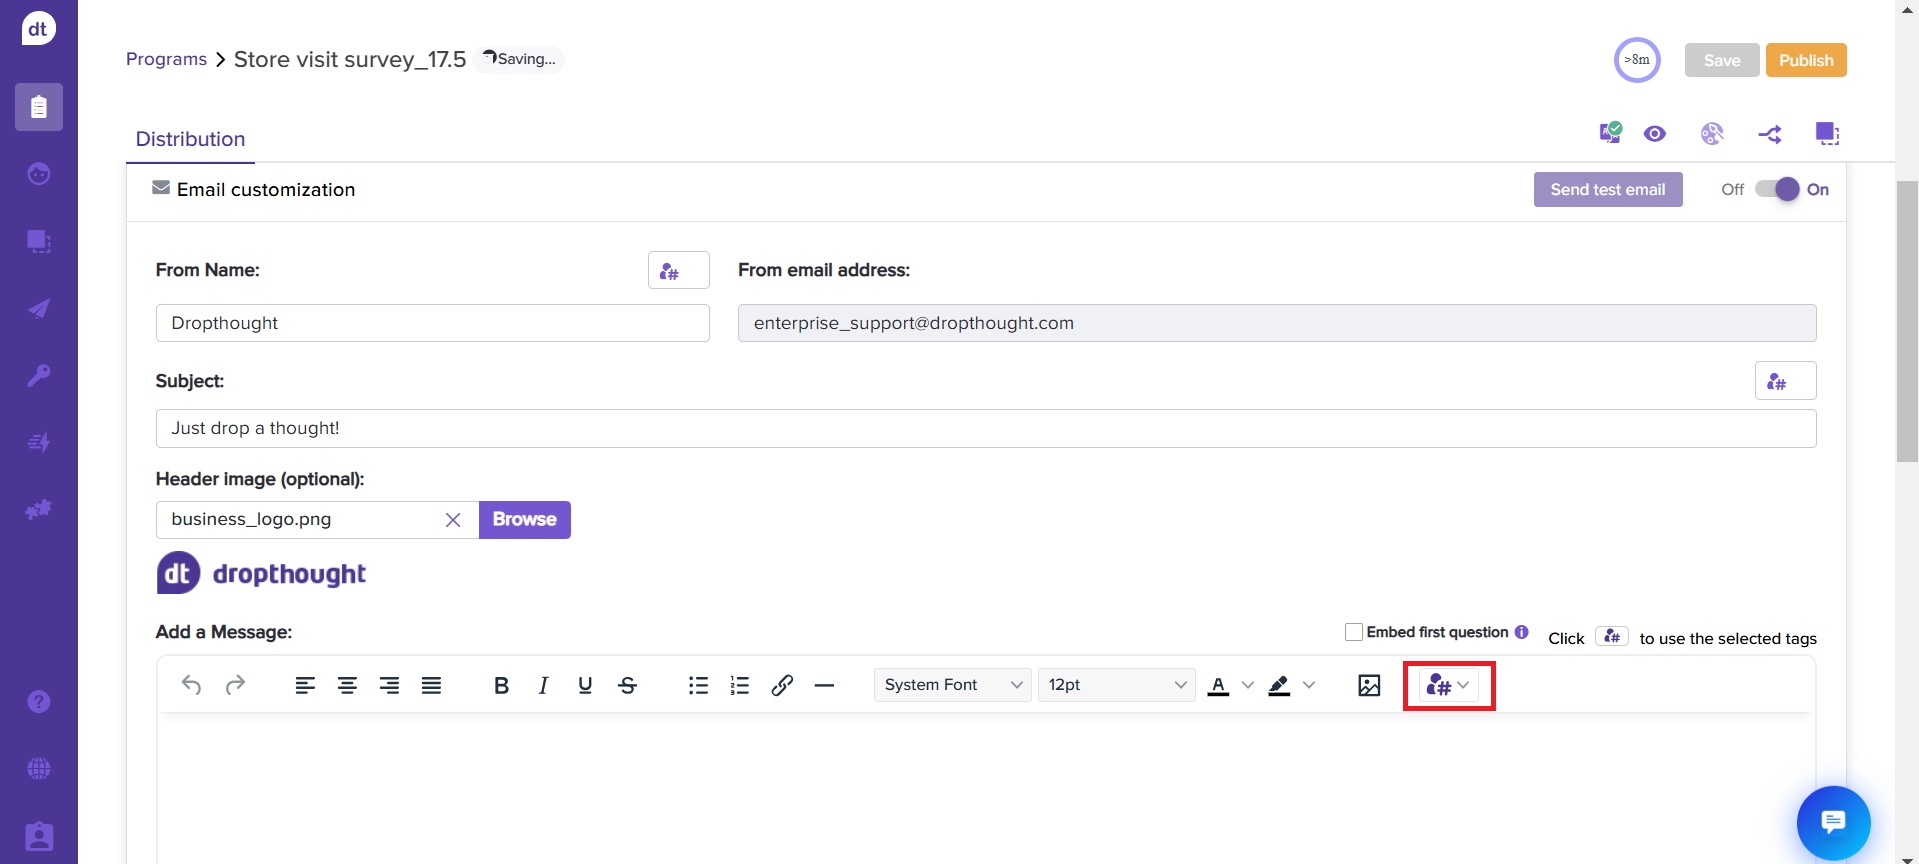
Add a formatted message to grab attention.
You can customize it using basic formatting tools. Personalize the text with bold letters, colors, and size adjustments to make your emails unique and engaging.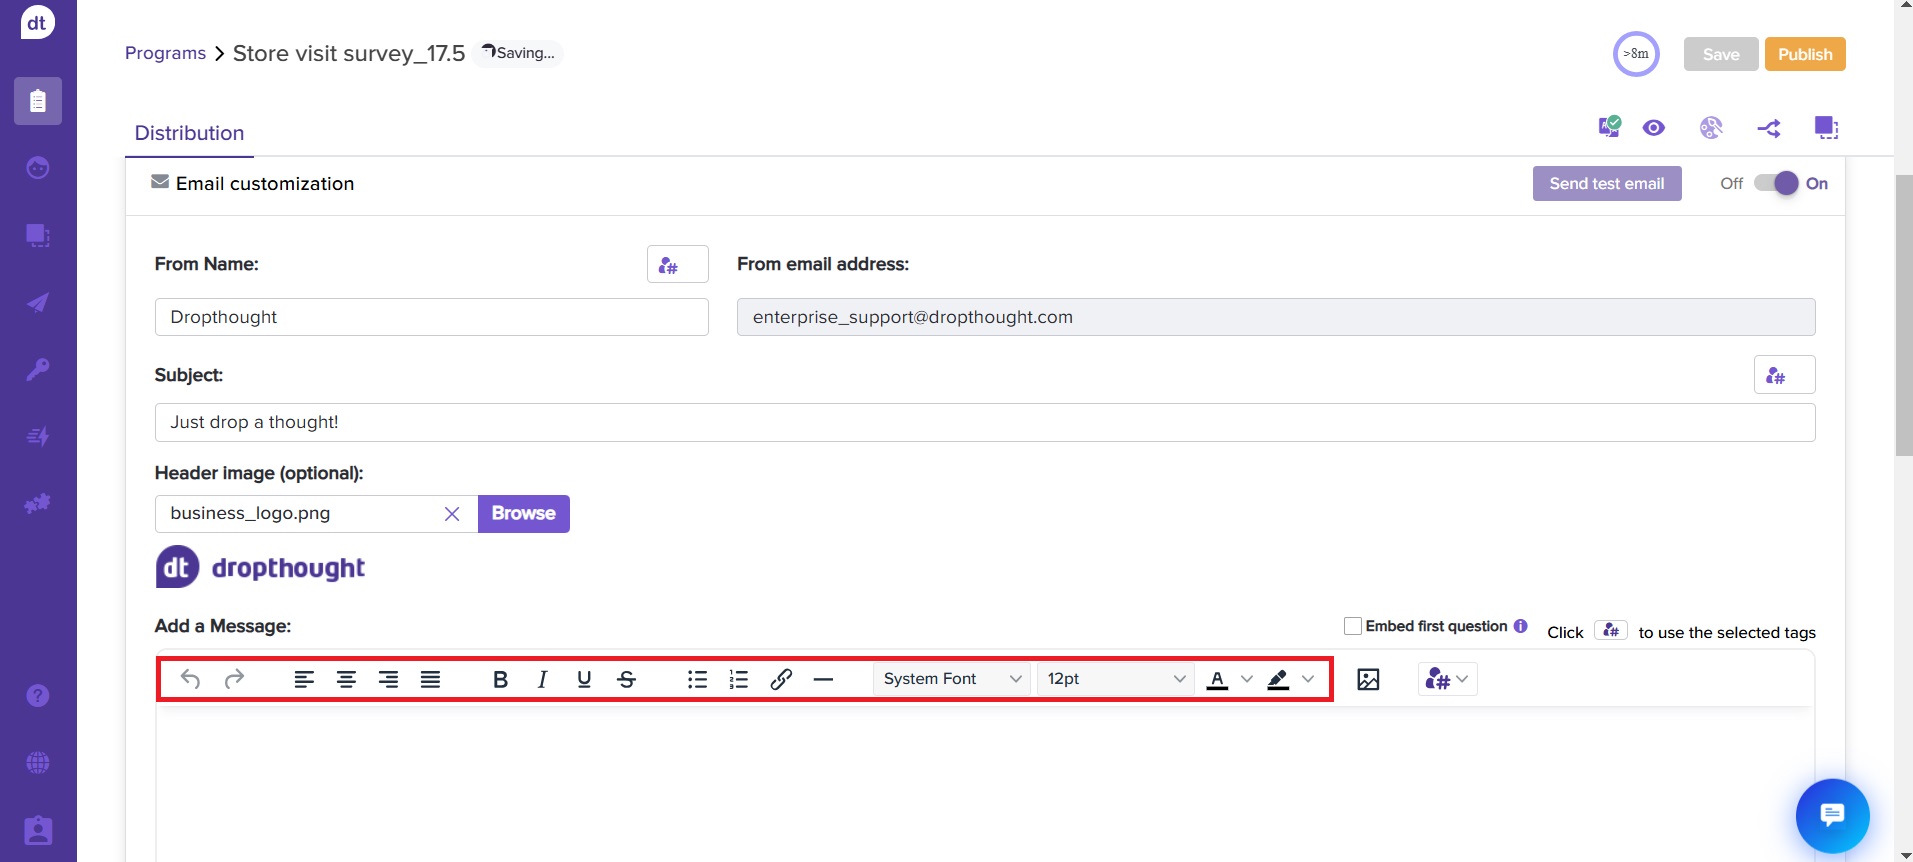
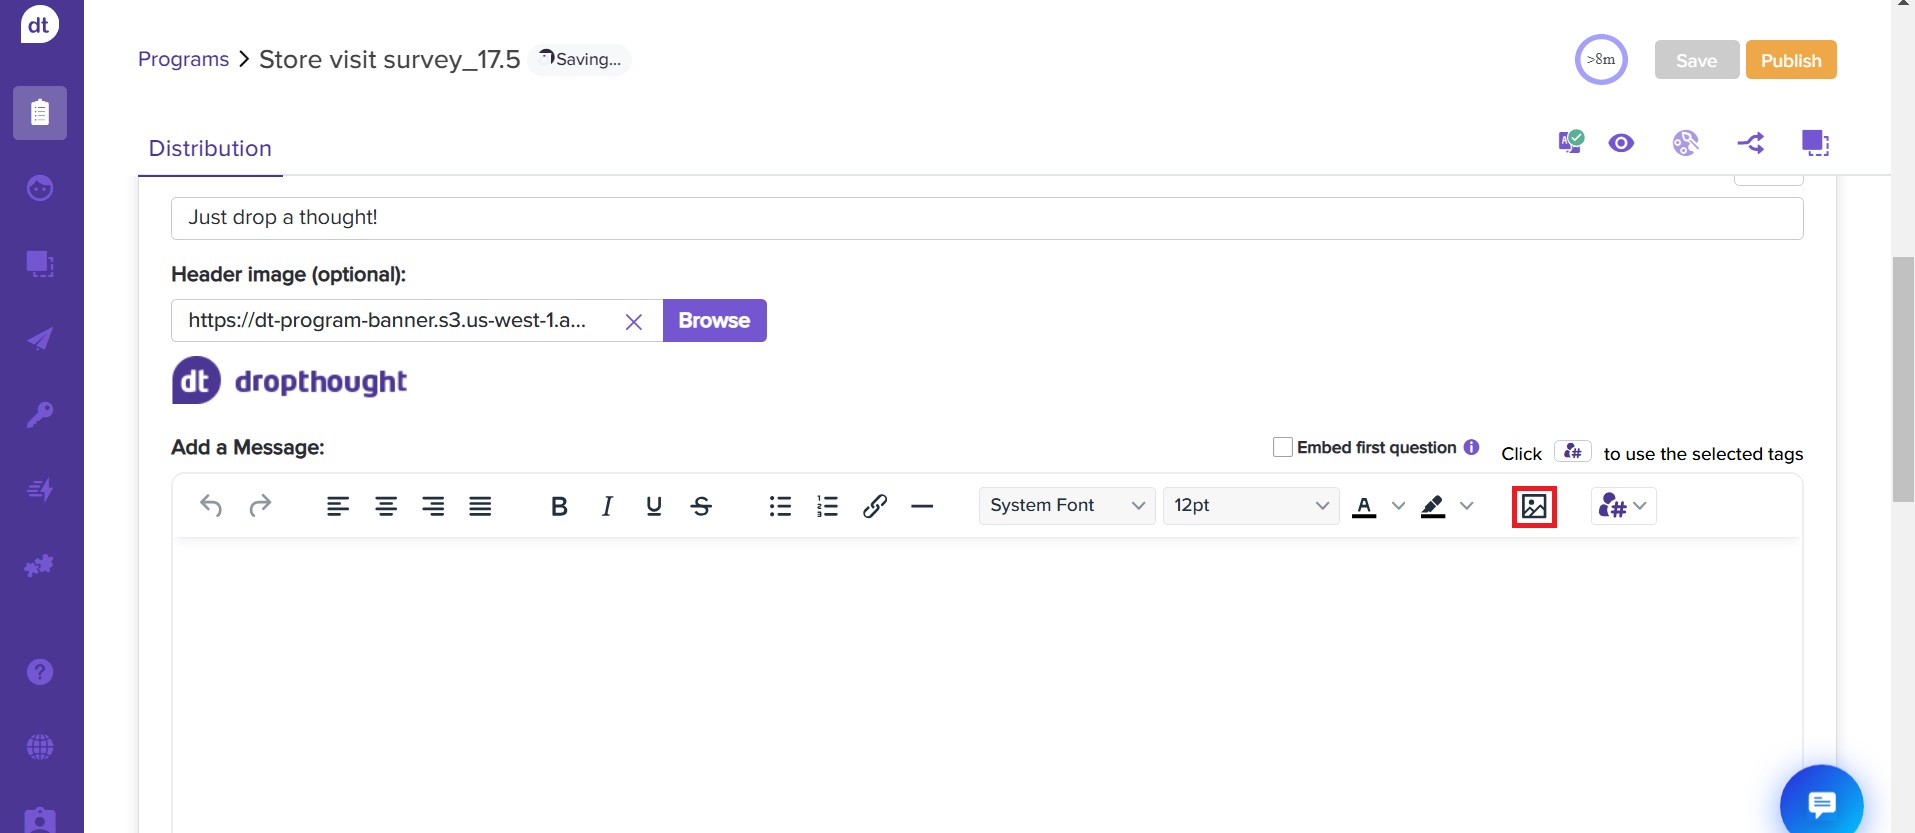
You can add images to your email body. Click on the image icon to upload an image.
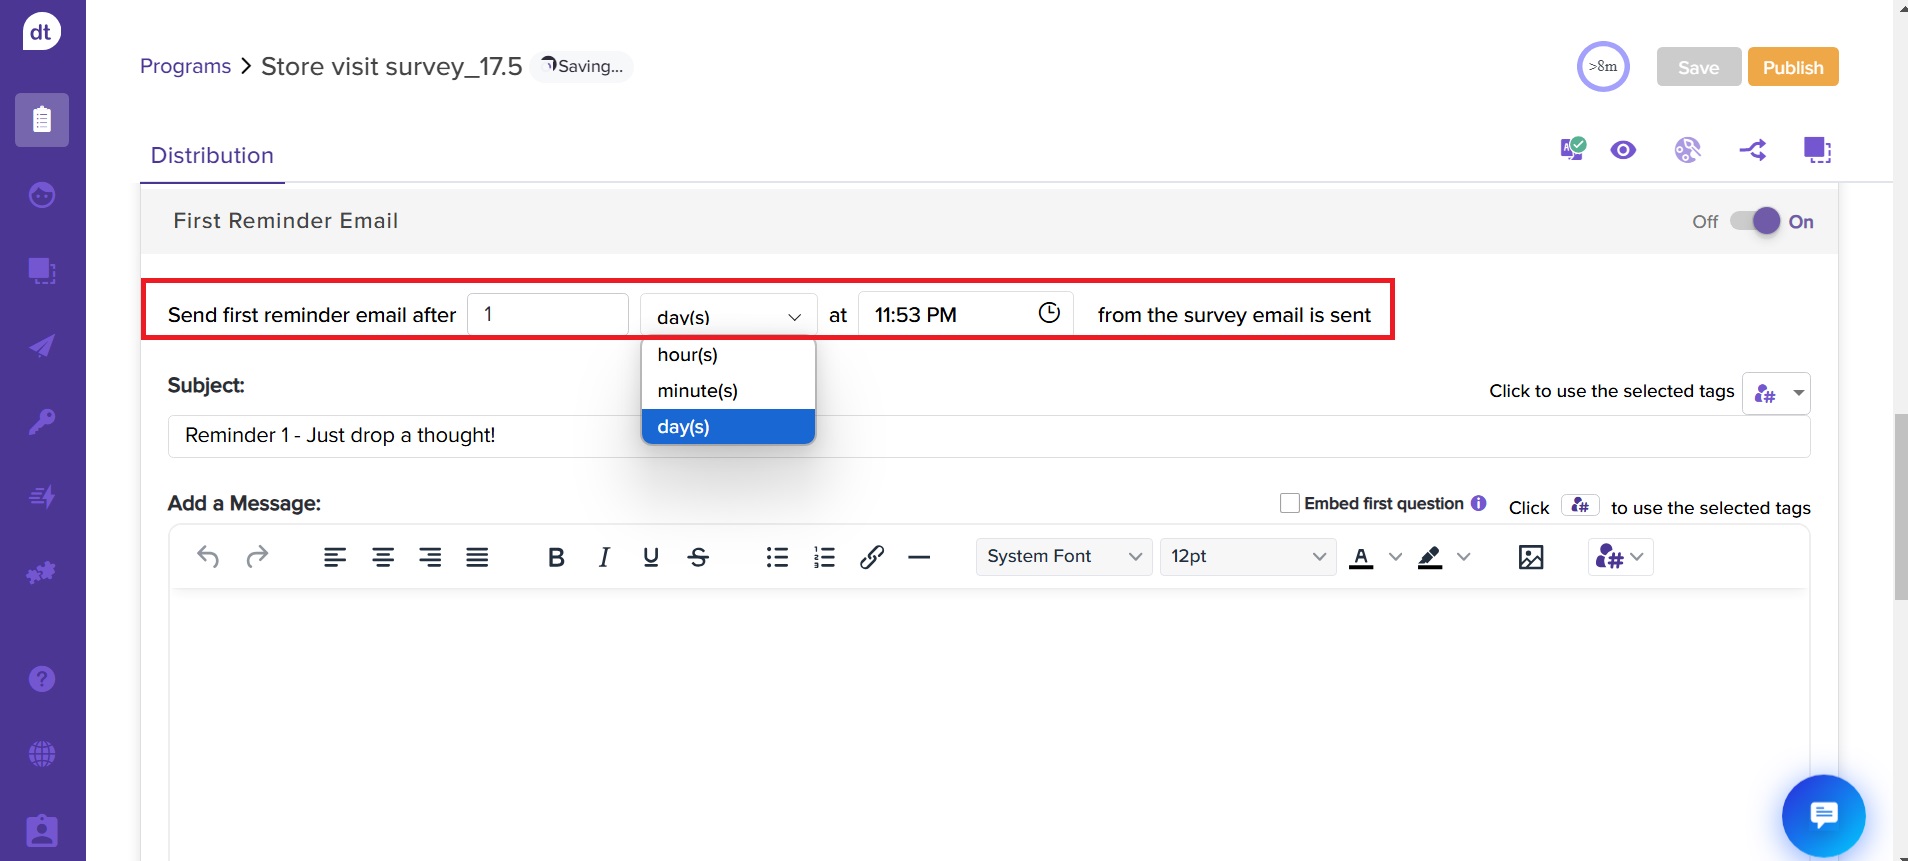
(Optional) You can set up Reminder Emails to increase response rates.
Toggle the button ON for the First Reminder Email and set a date and time. The field input validations are the same as those in the primary email.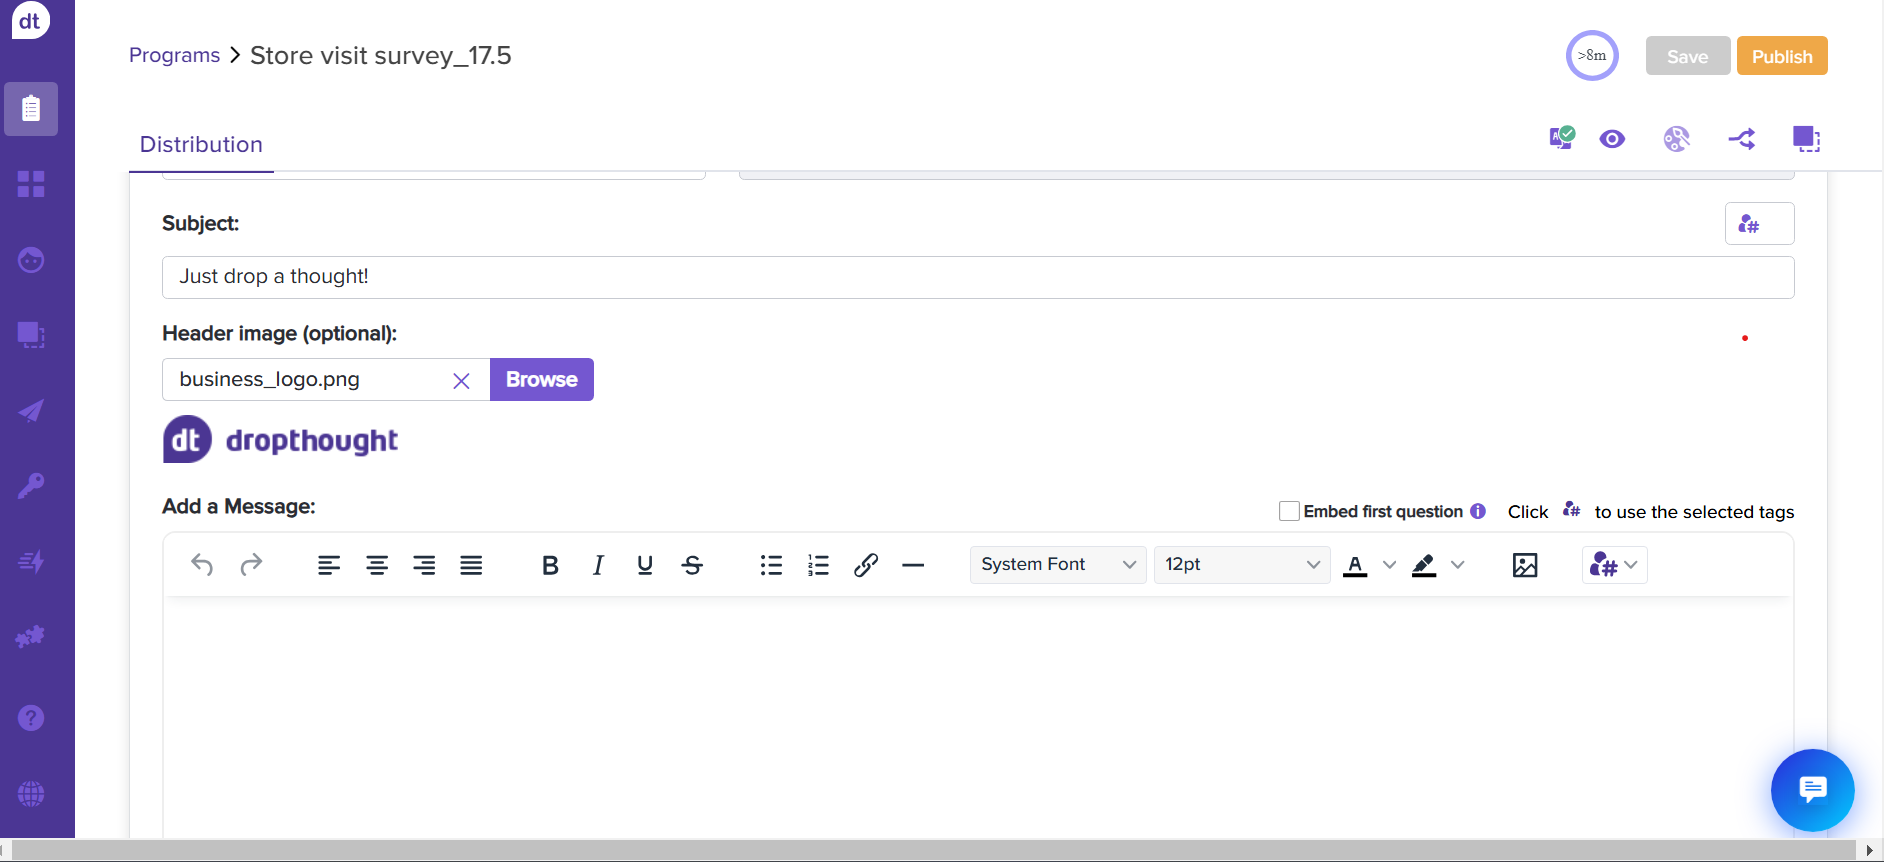
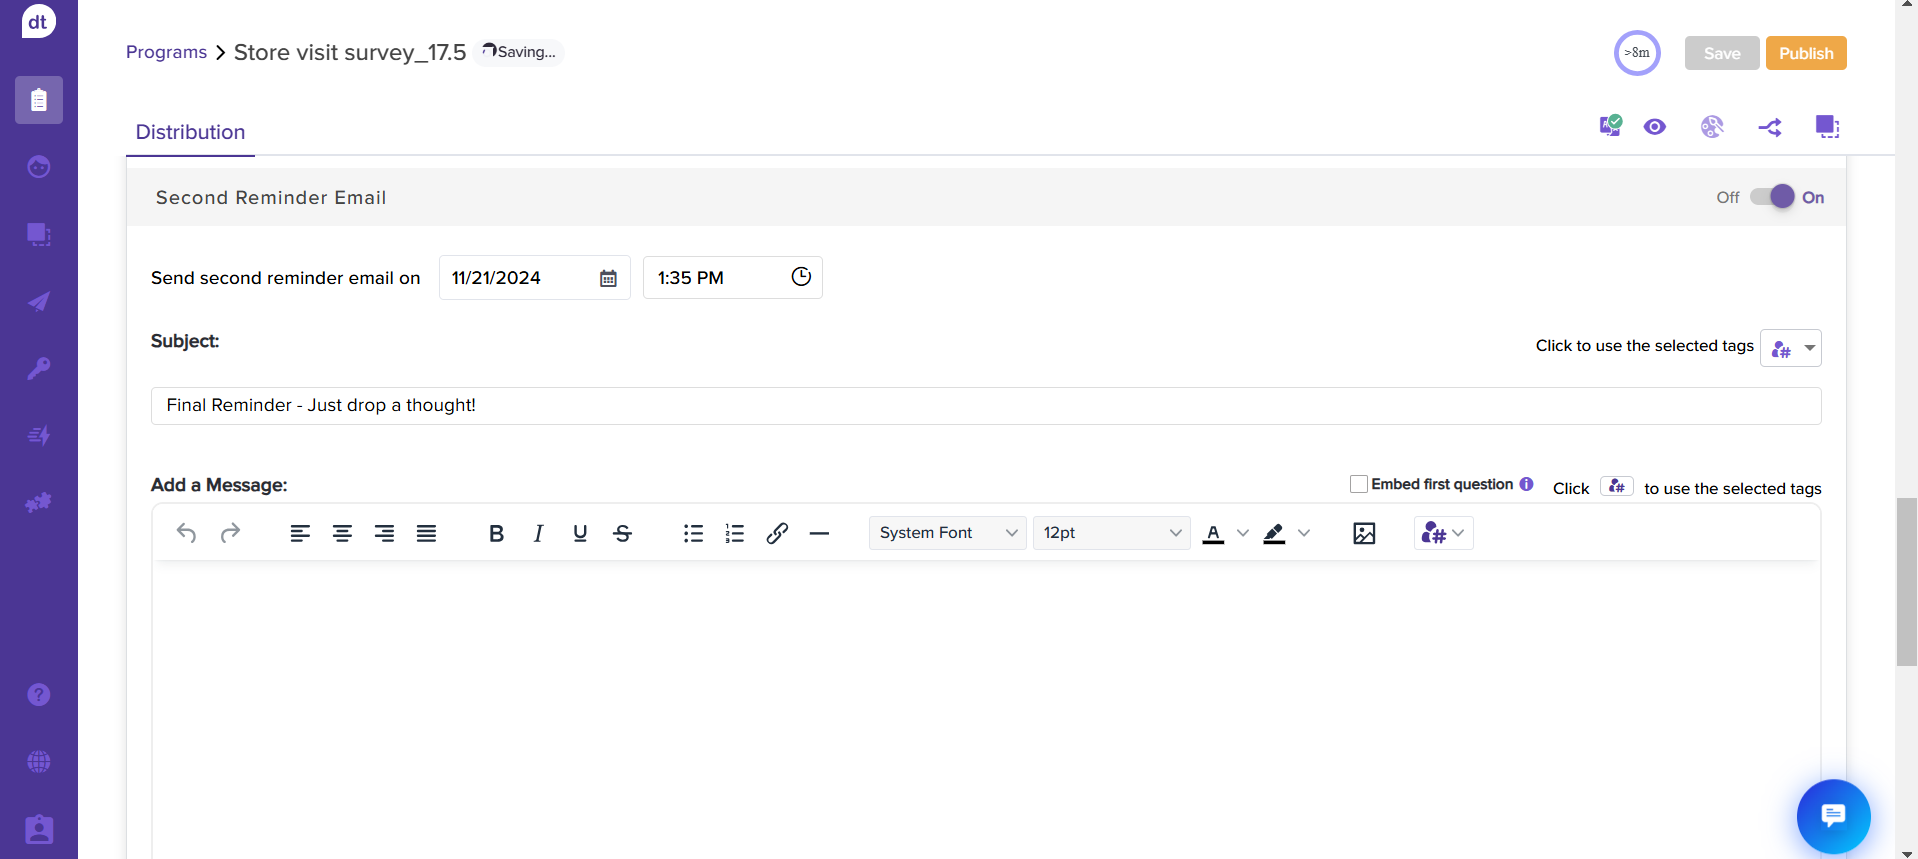
(Optional) If required, you can toggle ON Second Reminder Email. Repeat the previous steps to complete setting up the email.
Button Settings: The Button section allows you to customise how the button appears in your email invitations.
Button Colour: You can use the colour picker to choose a button colour that matches your brand or style.(Optional) Program Opt-out
This feature lets you add an opt-out message at the bottom of your survey emails.
Checkbox Option: When enabled, it displays a message that allows recipients to unsubscribe from future emails for that specific program.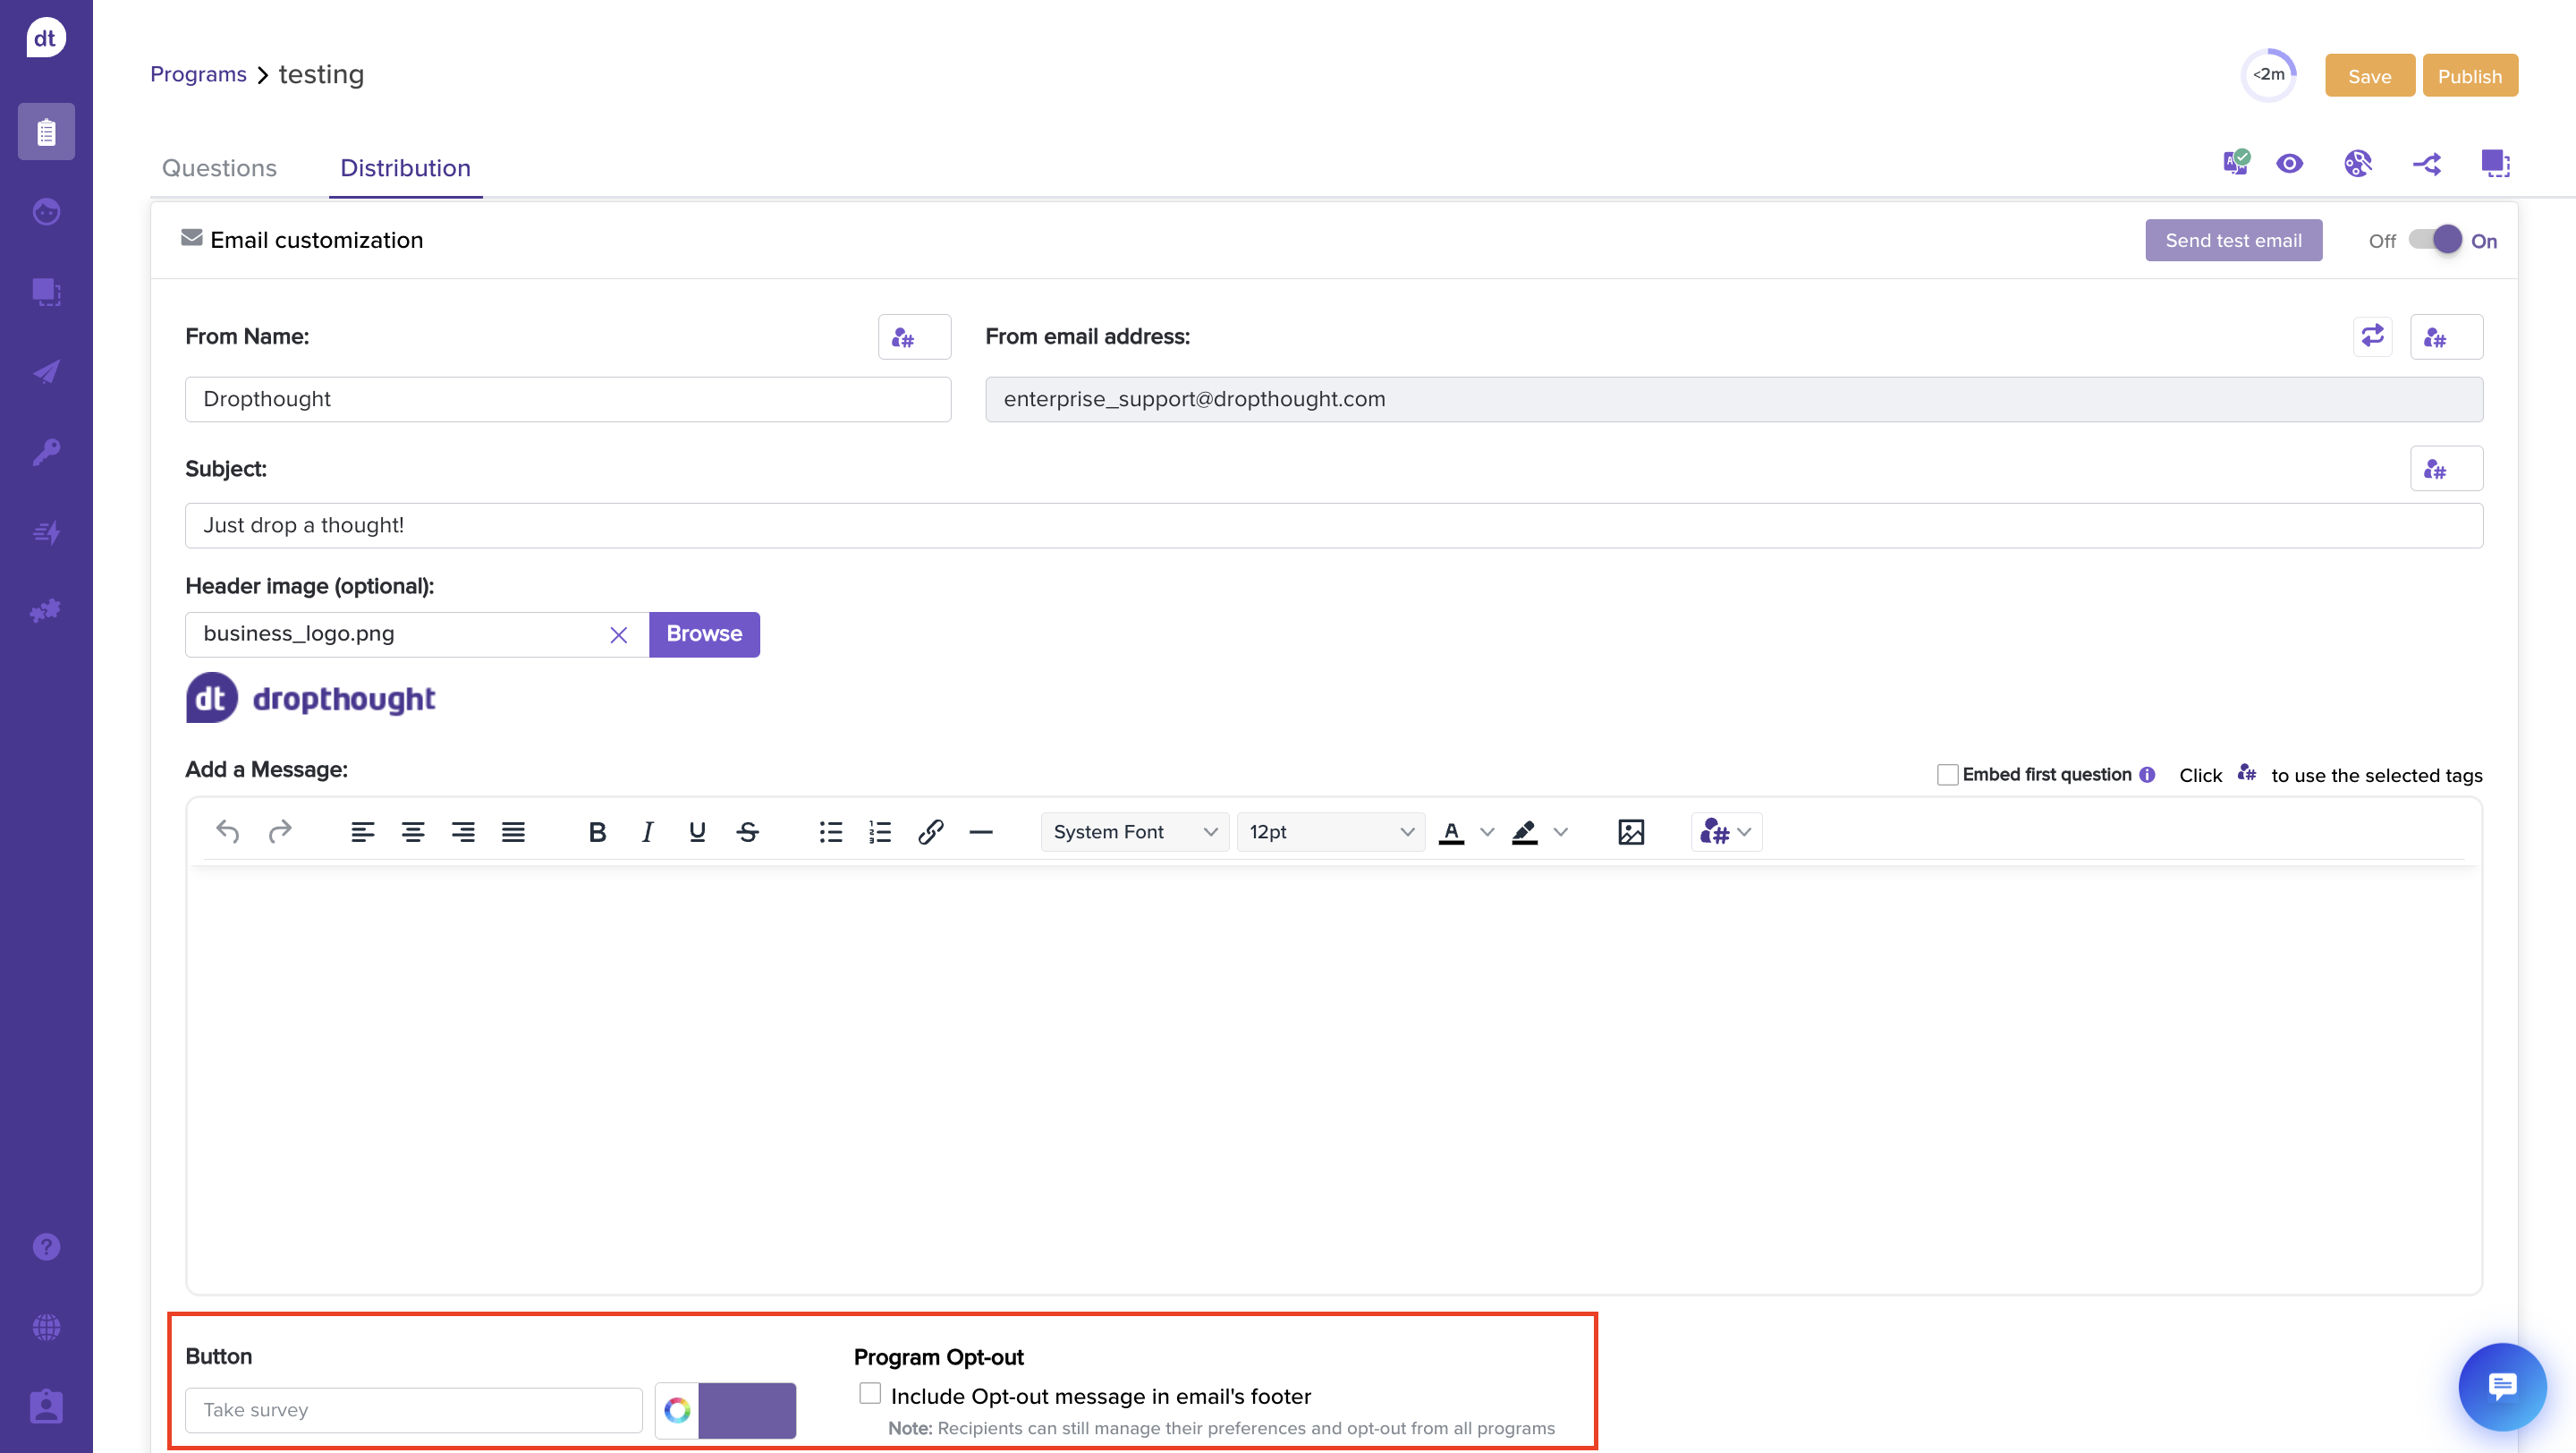
Note: You can also set reminders for recurring surveys. Ensure that the reminder delay value, whether typed or selected from the dropdown, is not shorter than the recurrence interval; otherwise, an error message will appear.
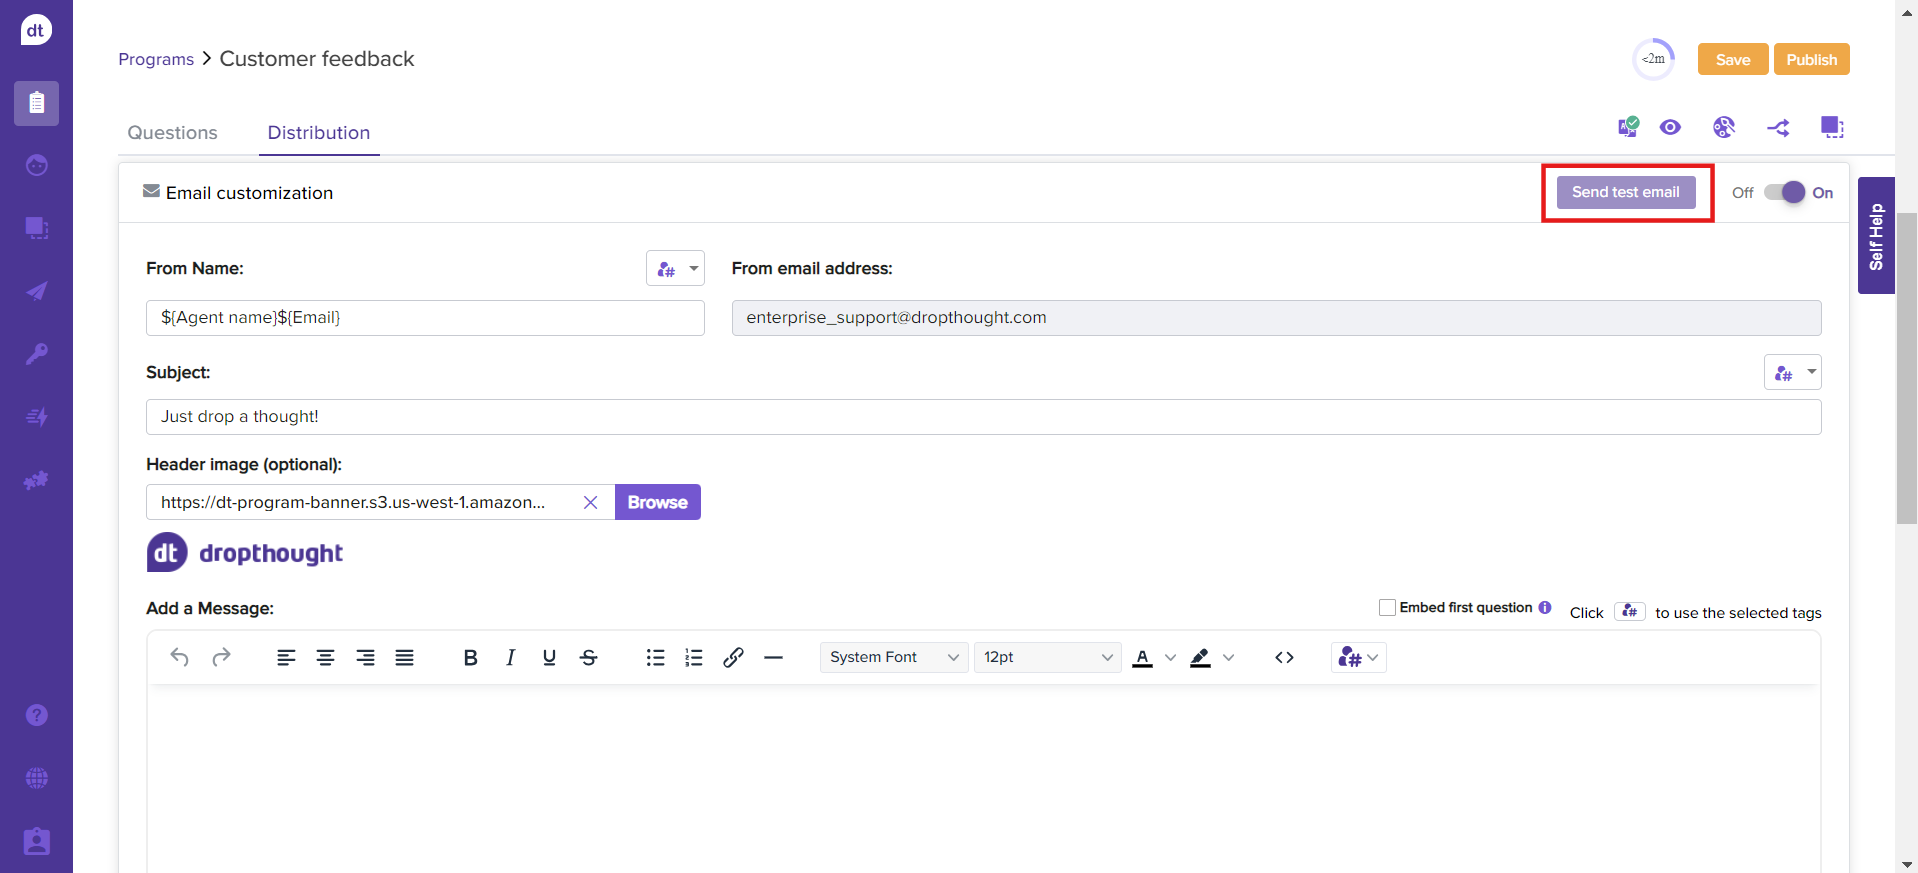
Test email
It is always better to review what you will share with the recipients before sending it. Dropthought has a Test Email feature that helps you test the email with the program link before sending it.
Click on Send test email.
Enter the email address to send the test email and click Send.
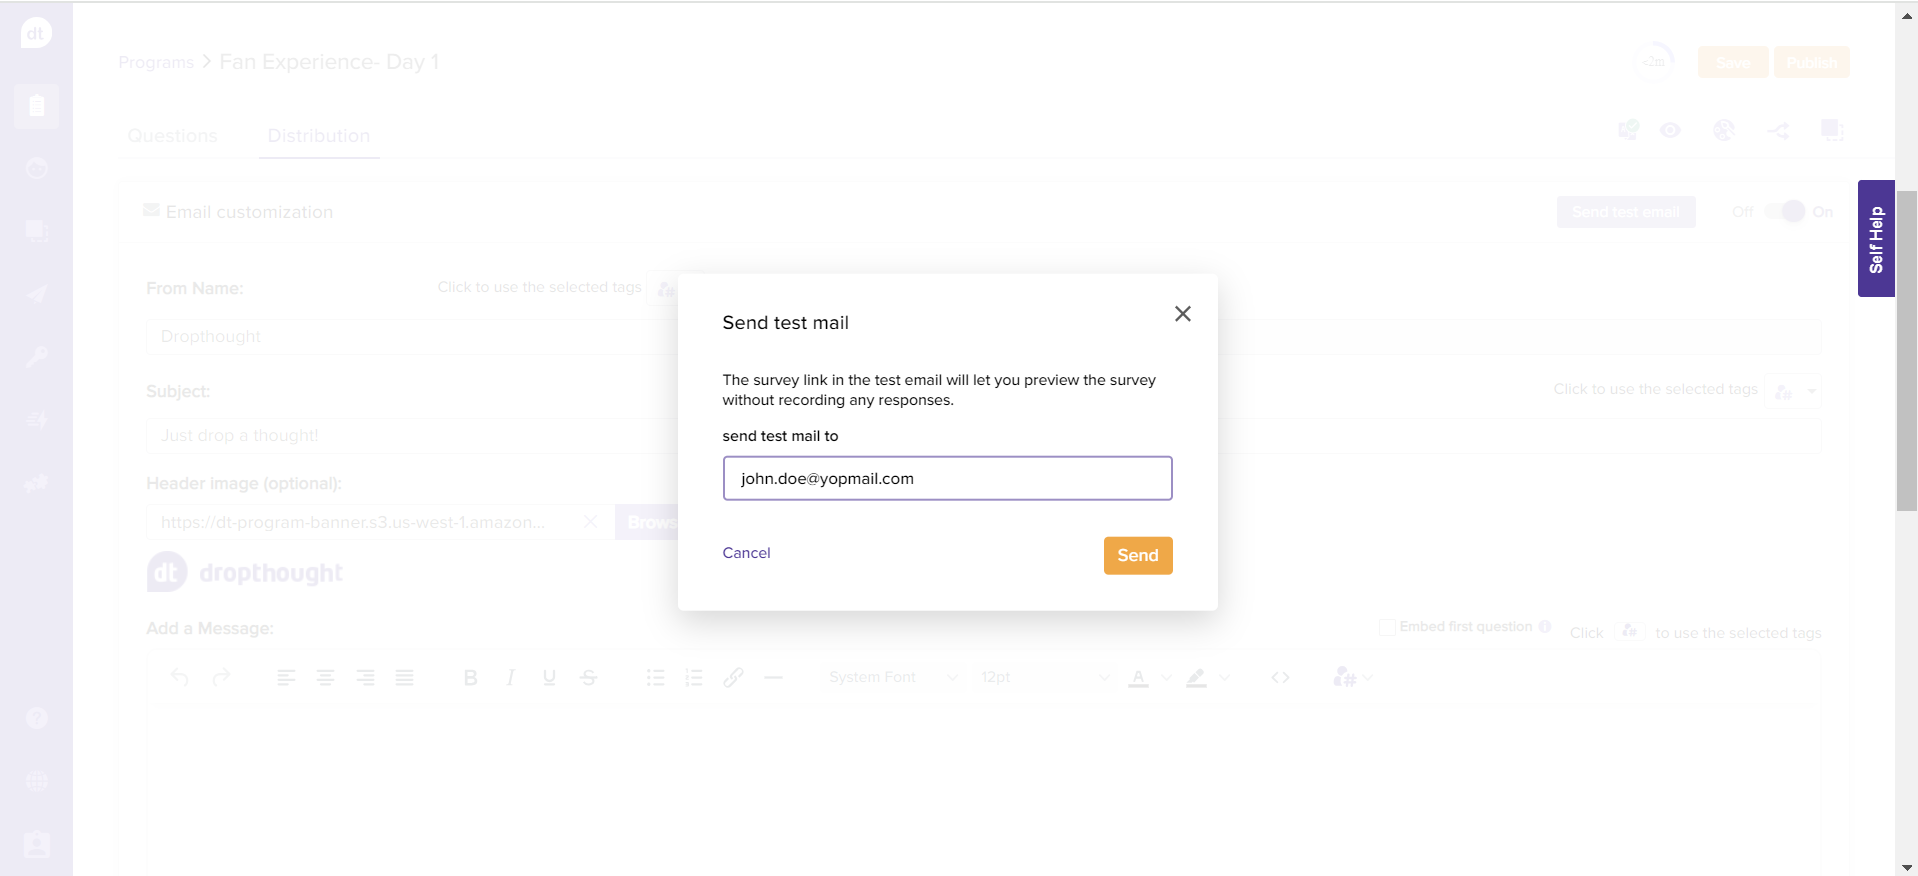
The test email will be sent to the email address.